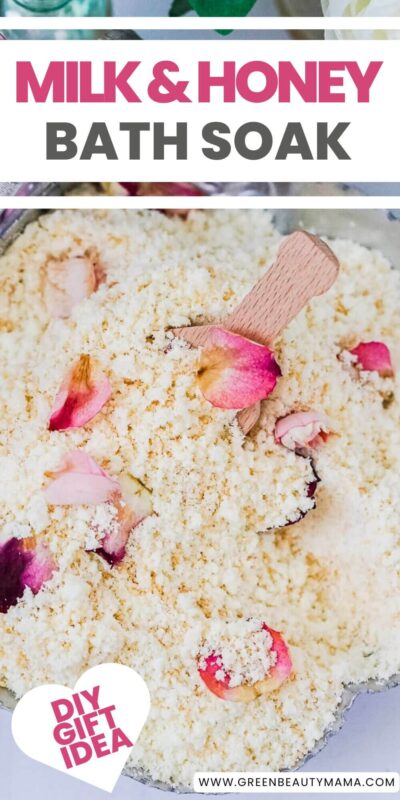
DIY Milk and Honey Bath Soak
Indulge in a relaxing bath with this luxurious DIY milk and honey bath soak. This bath soak recipe is easy to make and is perfect for gift giving, plus it smells just like honey ice cream!
Ever wonder where this bath time combination came from? It sounds a bit old fashioned, but you may be surprised at just how far back it goes. The practice is said to have started with Cleopatra back in ancient Egyptian times. While the certainty of that is unknown, we do know for sure that Nero’s wife Poppaea loved them so much that if the world was ending she was going to take her donkeys with her so that she could still indulge in her milk baths.
Historically speaking, milk baths were a luxury that only the very wealthy or royalty could afford. I couldn’t write about this without telling you that sometimes they would even reuse it! Swiss innkeepers recycled the milk baths to make cheese! So gross! Last fun fact about historical figures, Napolean’s little sister had a hole cut into her ceiling so that they could easily pour the milk in for her baths. Talk about committed!
Benefits of Milk and Honey Baths
It’s no wonder that milk and honey baths have been popular for over a millennia, both milk and honey are incredible for your skin.

Benefits of bathing in milk. Milk contains lactic acid and other proteins that help nourish and soften your skin. Lactic acid is an alpha-hydroxy acid that gently penetrates the top layer of skin to help remove dead skin cells for gentle and relaxing exfoliation.
Meanwhile, honey is a powerhouse when it comes to skin care with antibacterial and moisturizing properties. Honey also contains antioxidants which help to repair and protect your skin. The benefits of honey are plentiful!
Epsom salts are rich in magnesium sulfate and aid in muscle relaxation, pain relief, and stress reduction.
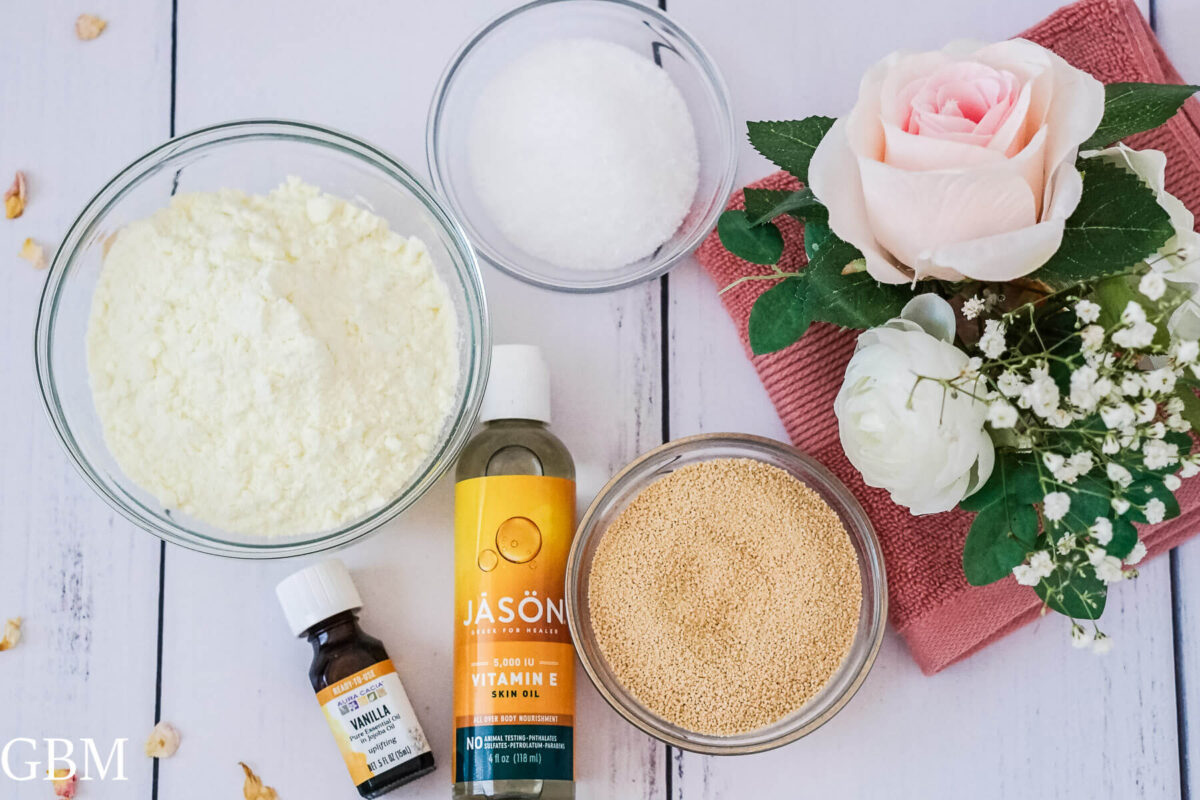
This milk bath soak recipe mix also has a touch of vitamin e oil and vanilla essential oil. The combination of the milk, honey and vanilla is so yummy and reminds me of ice cream. I love it!
Ingredients Needed:
- Full Fat Powdered Milk
- Honey Powder
- Epsom salt
- Vitamin E oil, optional
- Essential Oil, optional
- Dried rose petals or dried lavender buds, optional
Can’t use one of these products? Want to make some substitutions? Continue reading to find out what you can add instead.
Optional Add-ins and Substitutions For The Honey Milk Bath
Powdered milk: Powdered goat’s milk, powdered coconut milk, powdered buttermilk or powdered oatmeal milk can all be used in place of the regular powdered milk. Using a full fat milk is best for your skin, so just try and avoid low fat or non fat versions.
Honey: Can be omitted if there are allergy issues. No great substitutions for this ingredient,
Epsom salts: Magnesium flakes are very similar to Epsom salt and make a great alternative.
Vitamin E oil: Any light oil like apricot oil, grapeseed oil, or sweet almond oil.
Essential Oils: My favorite picks for this bath recipe are lavender essential oil, rose absolute oil, ylang ylang essential oil, chamomile essential oil, and geranium essential oil.
Dried flowers: This ingredient adds a luxurious flair to your bath, but it can also clog drains. So keep this in mind when picking substitutions. Other choices include hibiscus, chamomile, calendula, lemon verbena, arnica. Oats also go well in a milk bath.
If you are adding dried flowers to the mix, you can put your milk bath in cloth bag to make clean up easier. Or you can grind the flowers until they are small enough that they won’t clog your drain.
Step by Step Instructions for Making DIY Milk and Honey Bath Soak
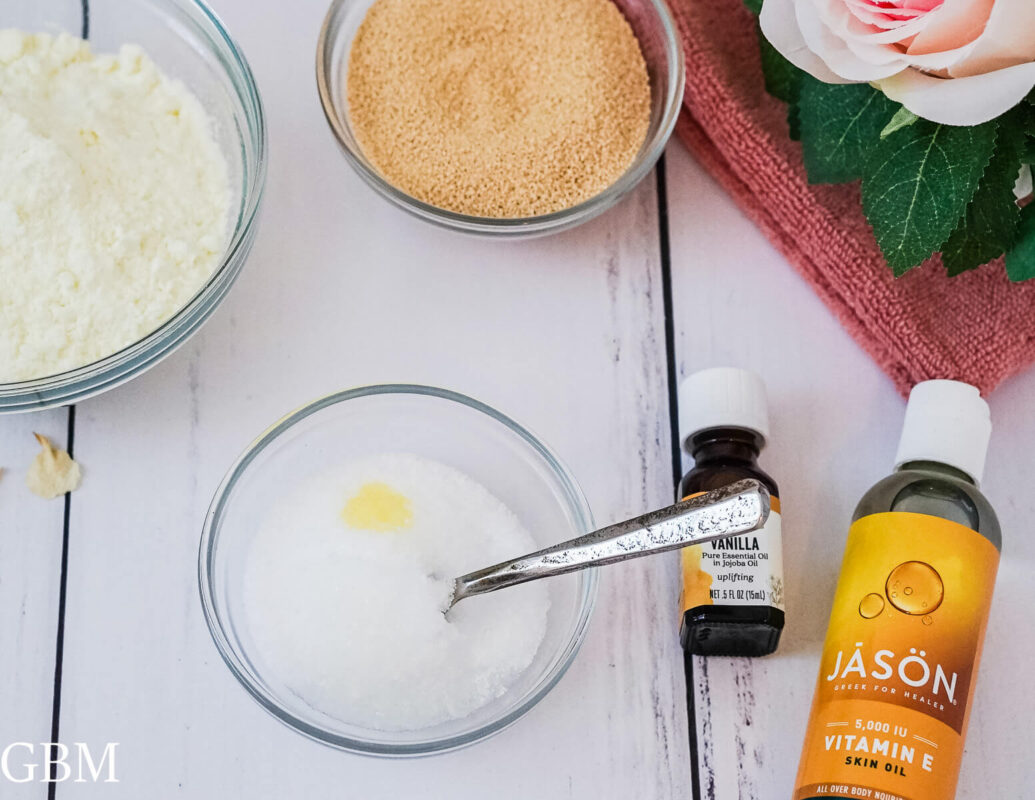
Step 1: Add the Vitamin E oil and Vanilla essential oil to the Epsom salts (if you are using these optional ingredients) and stir until they are completely absorbed into the Epsom salts.

It should look like the texture of snow.
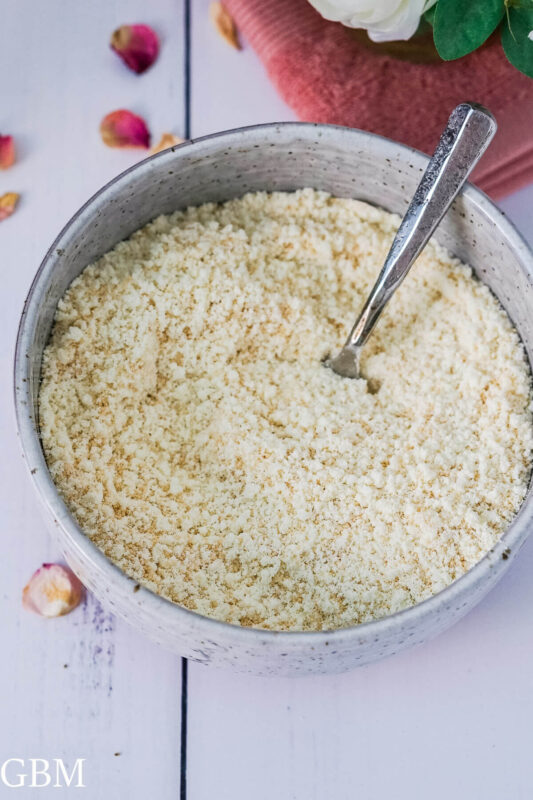
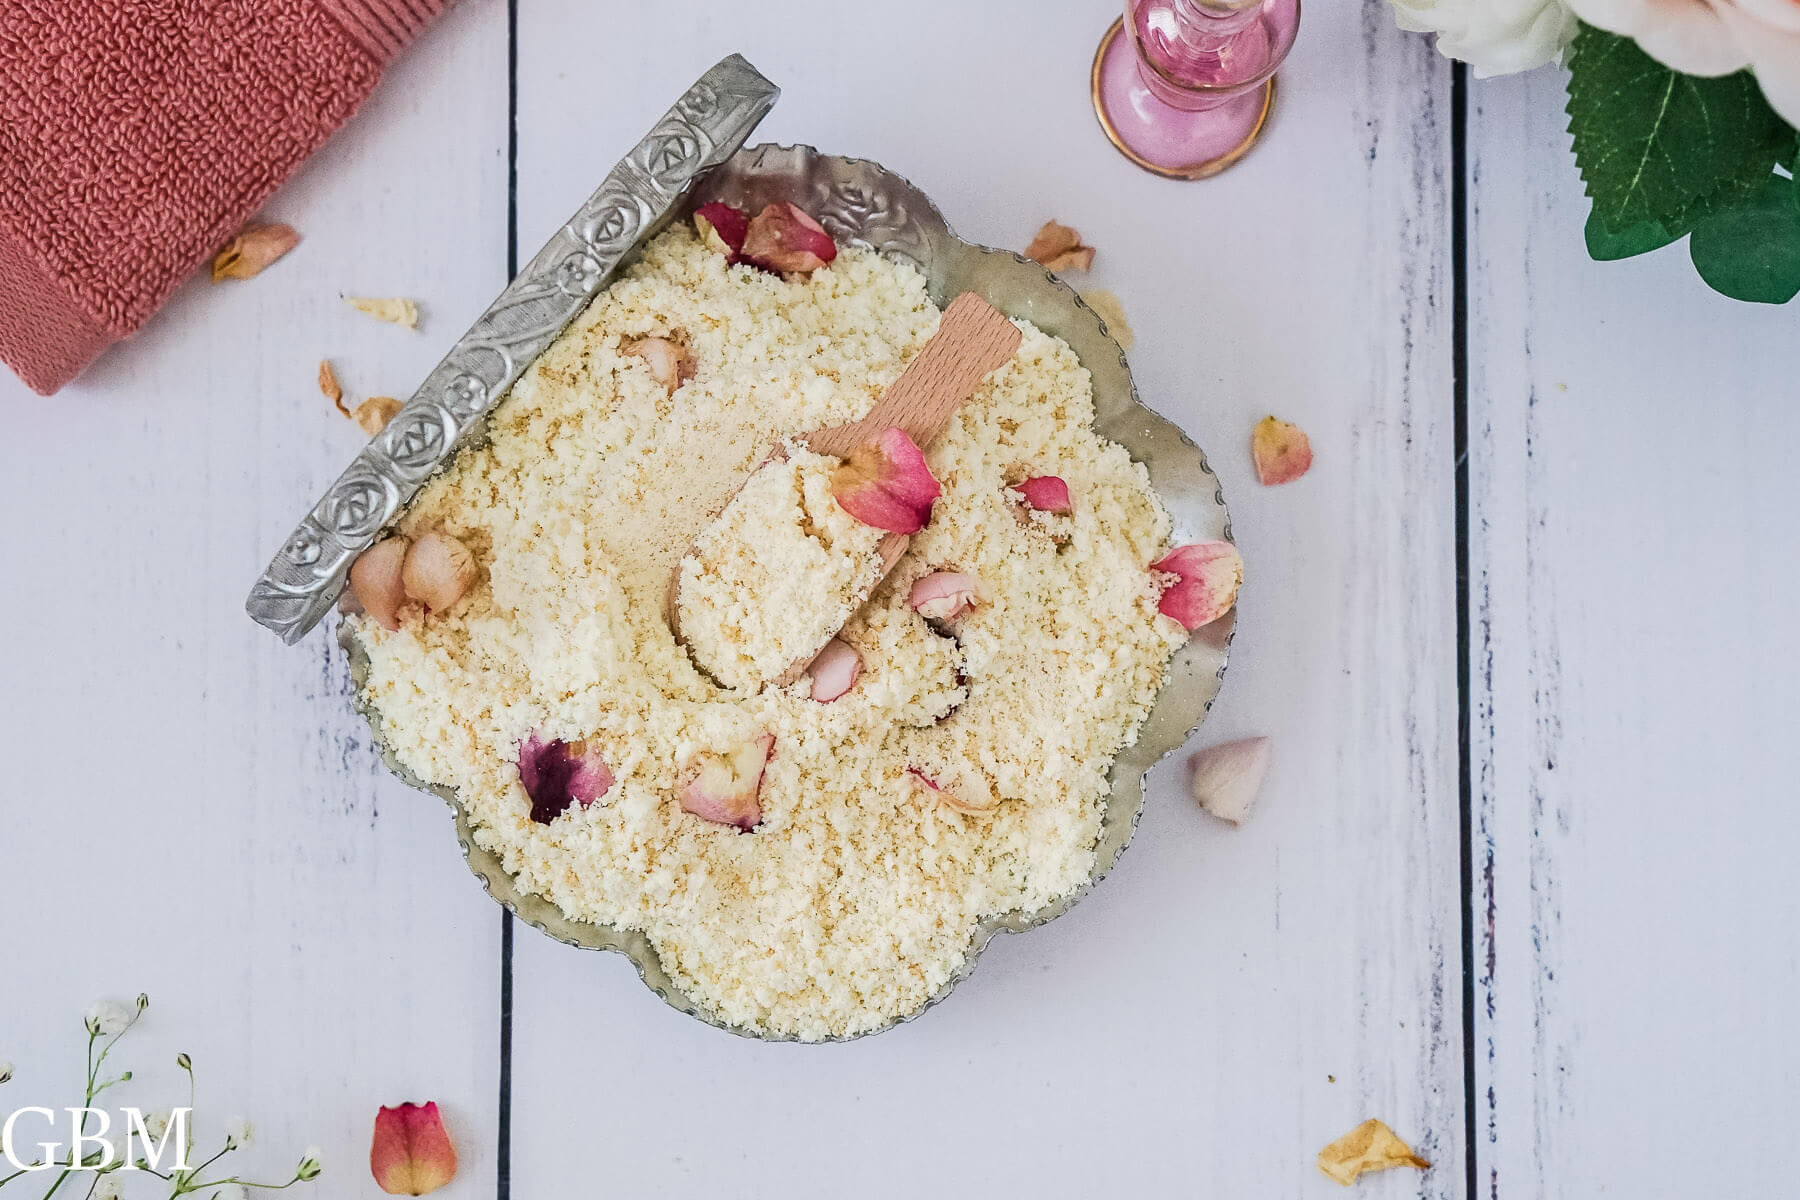
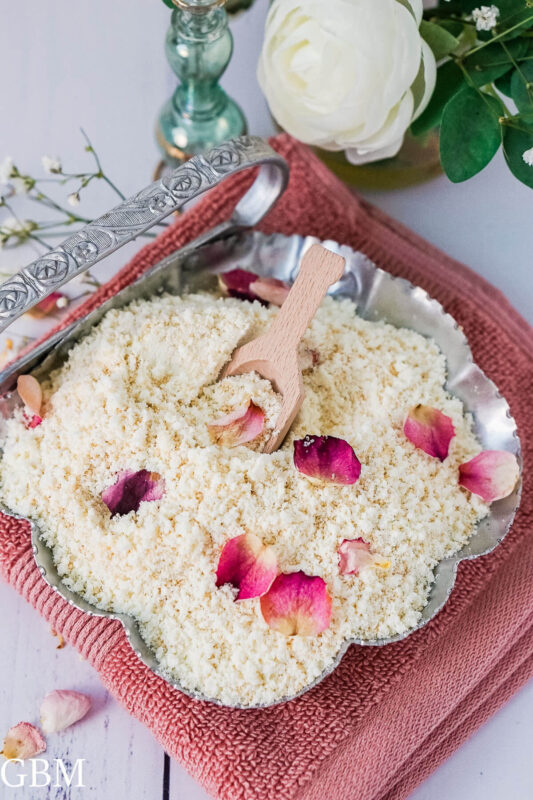
Step 2: Mix the Epsom salts, powdered milk, and honey powder together until well blended.

Step 3: Add any dried rose petals or lavender buds and mix them in.
Step 4: Transfer the bath soak to a jar with a tight fitting lid to store.
Because this recipe uses shelf stable ingredients like powdered milk and honey powder, you do not have to worry about it spoiling quickly or having to store it in your fridge. It will stay good as long as the closest expiration date on the products you’re using.
Tips For A Perfect Milk Bath Experience
To use your honey and milk bath soak, simply add 1/4 cup of the mixture to your bath water.
Allow yourself to soak and relax for at least 20 minutes to allow the fatty acids to gently penetrate the top layer of skin to help remove dead skin cells.
You can rinse off after if you wish, but it is not necessary.
Gift Giving Ideas
This honey milk bath mix makes a great homemade gift! Simply package it up in a mason jar or another cute air tight container. Consider tying a cute little wooden scoop to your jar with ribbon and include the directions for use!

DIY Milk and Honey Bath Soak
Materials
- 1 cup whole powdered milk
- ½ cup powdered honey
- ¼ cup Epsom salts
- 1 tsp vitamin e oil (optional)
- 5-10 drops vanilla essential oil (optional)
- 1-2 TBSP dried crushed rose petals or dried lavender buds (if desired)
Tools
- Measuring Cups
- measuring spoons
- bowl
- jar with lid
Instructions
- Add the Vitamin E oil and Vanilla essential oil to the epsom salts (if you are using these optional ingredients) and stir until they are completely absorbed into the Epsom salts. It should look like the texture of snow.
- Mix the Epsom salts, powdered milk, and honey powder together until well blended.
- Add any dried rose petals or lavender buds and mix them in.
- Transfer the bath soak to a jar with a tight fitting lid to store.
Notes
Shelf life:
Because this recipe uses shelf stable ingredients like powdered milk and honey powder, you do not have to worry about it spoiling quickly or having to store it in your fridge. It will stay good as long as the closest expiration date on the products you’re using.How to Use:
To use your honey and milk bath soak, simply add 1/4 cup of the mixture to your bath water. Allow yourself to soak and relax for at least 20 minutes to allow the fatty acids to gently penetrate the top layer of skin to help remove dead skin cells. You can rinse off after if you wish, but it is not necessary.Save this idea to Pinterest for later!