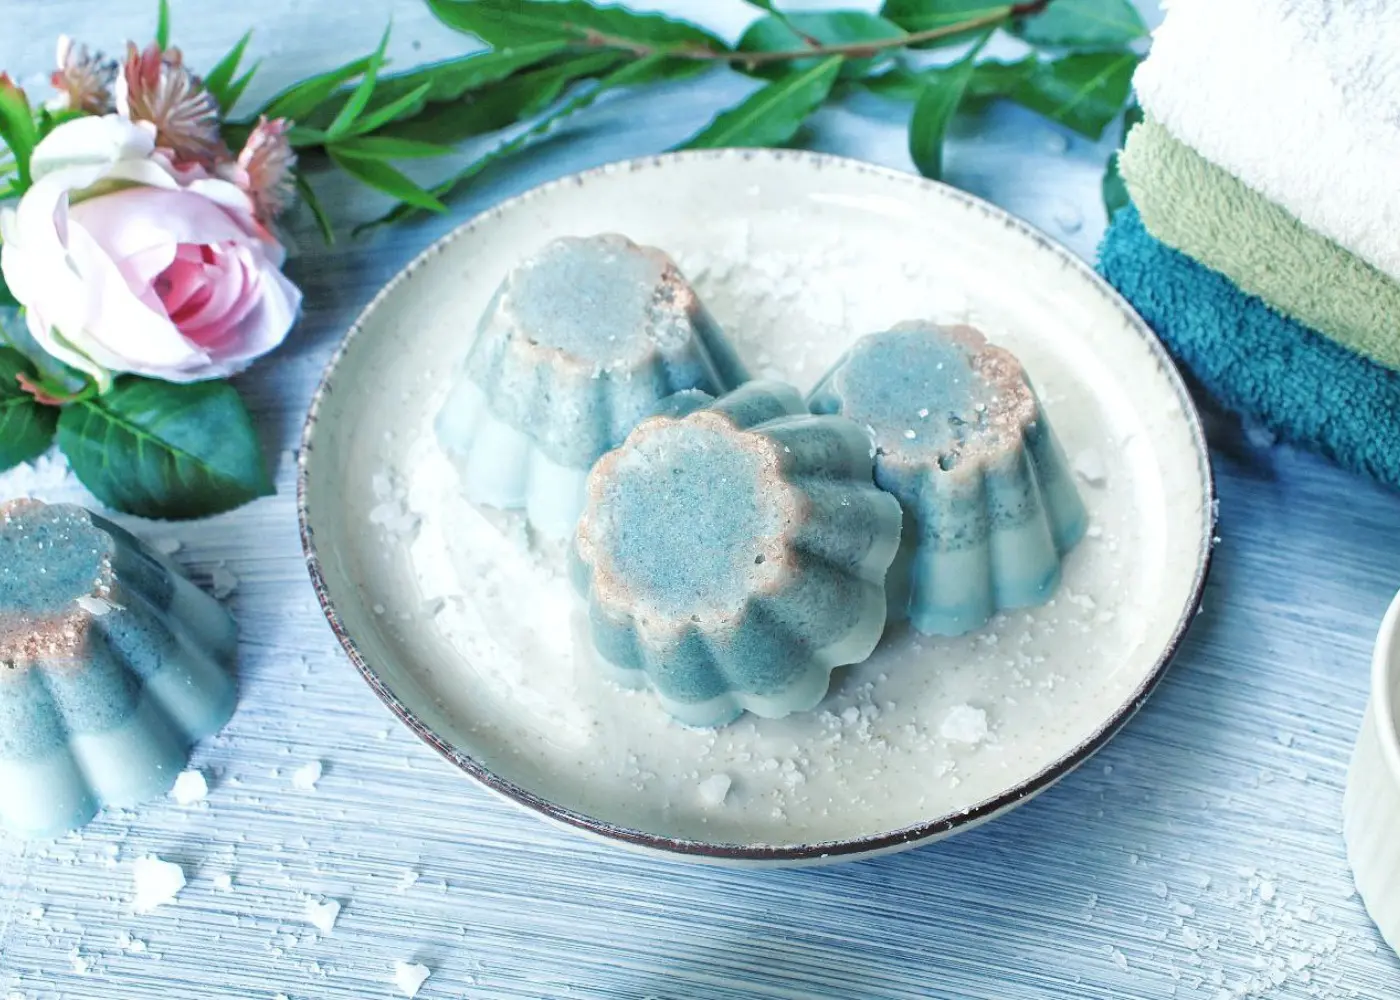
Sea Salt Soap
How to make salt soap bars with natural colorants and essential oils. This DIY sea salt soap cleanses, exfoliates, purifies, and nourishes your skin in a single step.
Print
Save
Servings: 6
Materials
- 540 g goat milk soap base
- 300 g sea salt
- 120 g Himalayan salt
- 30 g Shea butter
- 15 drops of Blue cypress essential oil
- 10 drops of peppermint essential oil
- ⅛ tsp mica (optional)
Tools
- Cutting board
- food processor
- glass measuring cup or pitcher
- single-cavity silicone soap mold
Instructions
- Put the sea salt into a food processor or blender and pulse a couple of times. Beware the dust cloud when opening the food processor, and avoid breathing in salt dust. This step is optional but recommended because extra fine salt is gentler on the skin.
- Melt your soap base and shea butter in a small microwave saucepan. To make this faster, you can shred or cube the soap bar.
- Mix in your food coloring if using, and stir well.
- Pour the mixture into your molds. Melt and pour salt soap will harden almost immediately, so work quickly.
- Place the mold into the fridge to harden for about 20 to 30 minutes.
- Once the soap bar feels cool, release it from the mold.
Notes
You can store these in a glass mason jar, a Ziploc bag, or an airtight container. These will be good for one year, but I doubt they will last that long!
How do I use my salt scrub soap bars?
Use the sea salt soap recipe like any other body soap. The soap can be used in the shower or during a bath. I don’t recommend using this recipe as a face soap. Did You Make this Project?Please leave a comment on the blog or share a photo on Pinterest