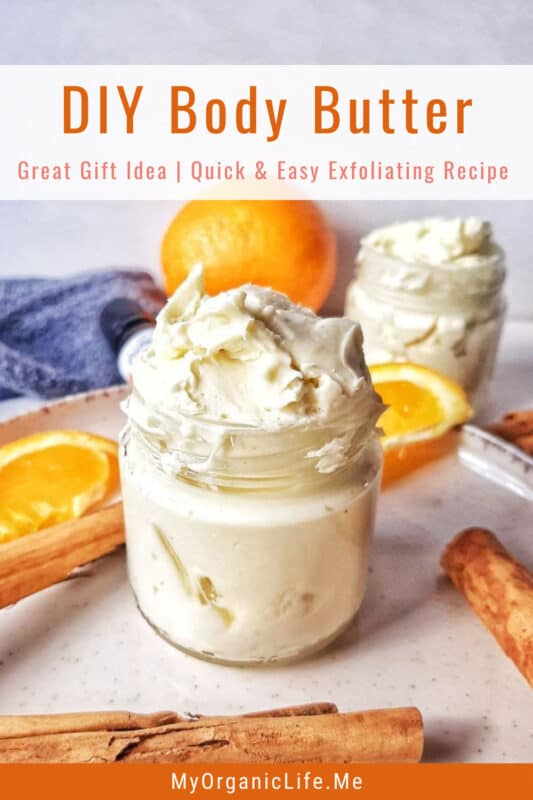
Easy Whipped Shea Butter Recipe with Essential Oils
If you want a simple, thorough guide on how to make your own whipped shea butter recipe, you’ve come to the right place.
This recipe for whipped shea butter is one of the quickest, easiest and frugal(ist?) homemade gifts ever. Plus it smells great and has only 3 clean ingredients you probably already have on hand.
I started making my own skincare products a few years ago, right after my endometriosis surgery. Back then, the money was tight, and I had to find a way to make ends meet over the holidays. This homemade whipped body butter was the perfect gift idea, costing me pennies per jar to make.
This whipped shea butter recipe works wonders for my skin (sensitive and dry) and can be used as an all-natural moisturizer with so many benefits for your skin!
Homemade whipped shea butter is great to use in cooler weather, and it helps to nourish dry skin. It smells great and
uses simple ingredients you probably already have on hand (and if you don’t, you should).
Why Should You Try This Whipped Shea Butter Recipe?
The last time I used conventional skincare products was July 2017, which is crazy for me, considering I lived and died by my weekly beauty shopping. I don’t mess around. My skincare routine comes in fast and furious, and I have a low tolerance for any strand left untreated. At 30 years old, I have been using hundreds of store-bought beauty products.
The Conversation That Changed my Life
And just like that, one quick chat with a friend made me stop buying luxury beauty products.
Back then, my friend was obsessed with all those ” hidden ” chemical toxins” in our beauty products. She always told me: “Lora, your bathroom is full of toxins…get rid of them and start using only natural products”.
She was right…
Now it’s my turn..
Did you know that those deadly chemicals sit on your skin for a couple of minutes, making their way to your bloodstream and making pit stops at all of your organs?
Obviously, we are not choosing to drink our beauty products, so it can’t be too bad, right? Well, let’s start with the skin. The skin is one of the most absorbent parts of the body—it’s like a sponge that sops up whatever you put on it. As any kind of product sits on your skin, chemicals are absorbed through your skin and into your bloodstream.
Some of these chemical toxins are peed out, but some remain in the body for months, maybe longer.
Chemicals and contaminants linked to cancer can be found in food, water, and many other everyday products.
Some common ingredients in commercial body lotions include preservatives like parabens (linked to breast cancer and reproductive issues, among other things ) and butylated hydroxyanisole. BHA (an endocrine disruptor and known carcinogen) and synthetic fragrances and perfumes are made up of a whole bunch of chemicals, most notably phthalates (which have been linked to early puberty in girls, reduced sperm count in men, and reproductive issues, as well as liver, kidney and lung damage).
So if you’re concerned about eating organic, all-natural foods, you should also be concerned about using all-natural body products!
Another reason to make your own whipped body butter is water. It’s the number one ingredient in most store-bought lotions, and it’s a big waste. Water is a way to fill up that store-bought bottle of lotion without using too many skins and healthy, active ingredients. Basically, it keeps costs down for the manufacturer, but it has no benefit for the buyer.
This homemade whipped body butter was one of the first body care products I learned to make, and I’m proud to say that I have never bought (or used) drugstore body butter since. It only contains healthy oils and no water, it requires no preservatives to keep it from spoiling on the shelf.
How to Make DIY Whipped Shea Butter
This is a basic recipe for whipped shea butter and can be varied by using different carrier oils and essential oils for a different skin feel and fragrance.
You can also vary the consistency of the body butter. To make a firmer body butter try using a ratio of 80% shea butter and 20% oils, or even 90% shea butter and 10% oils. Firmer body butter is more suitable for warmer climates. For a light, silky body butter, tries the recipe above but replace 20% of the shea butter with 20% cold-pressed organic coconut oil.
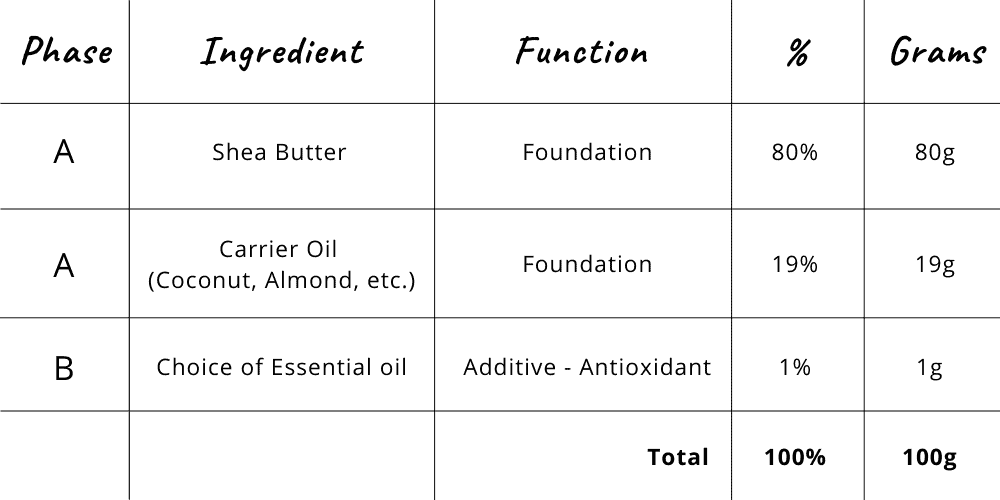
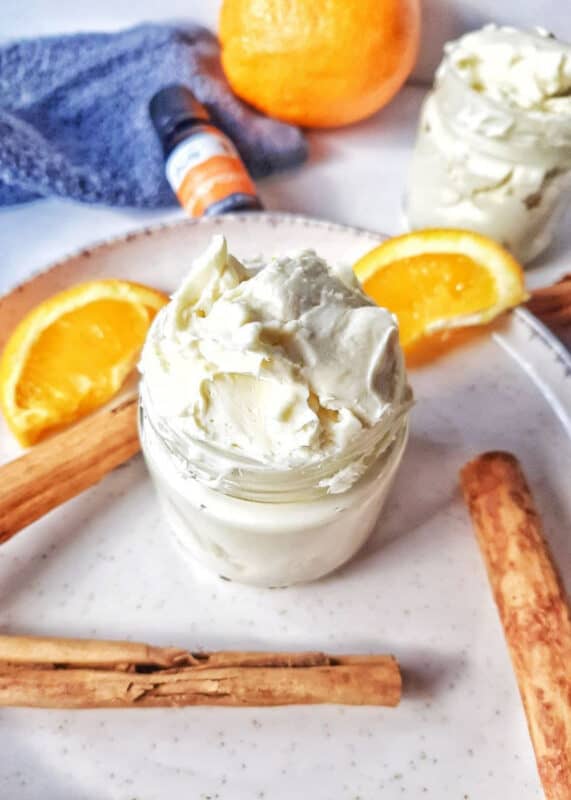
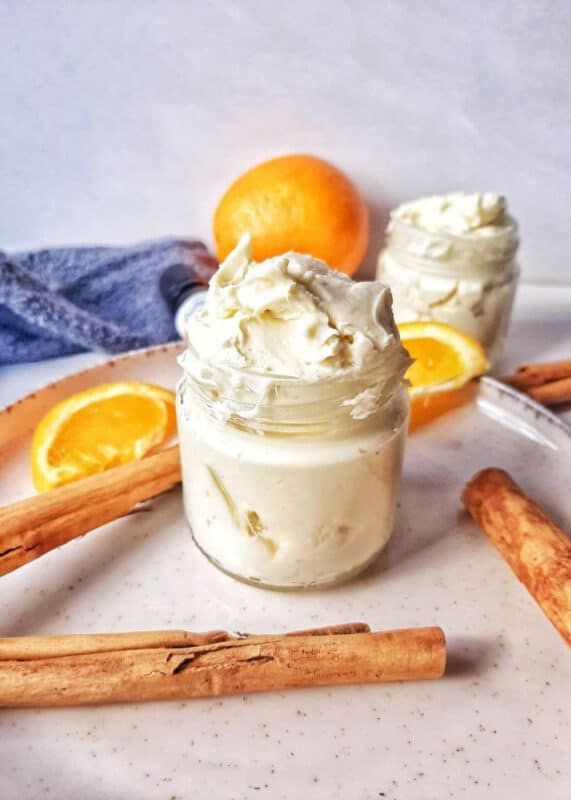
To make your own homemade body butter, you must add 80 g of shea butter and 19 g of carrier oil. I’m using coconut oil in a saucepan and melting over medium heat.
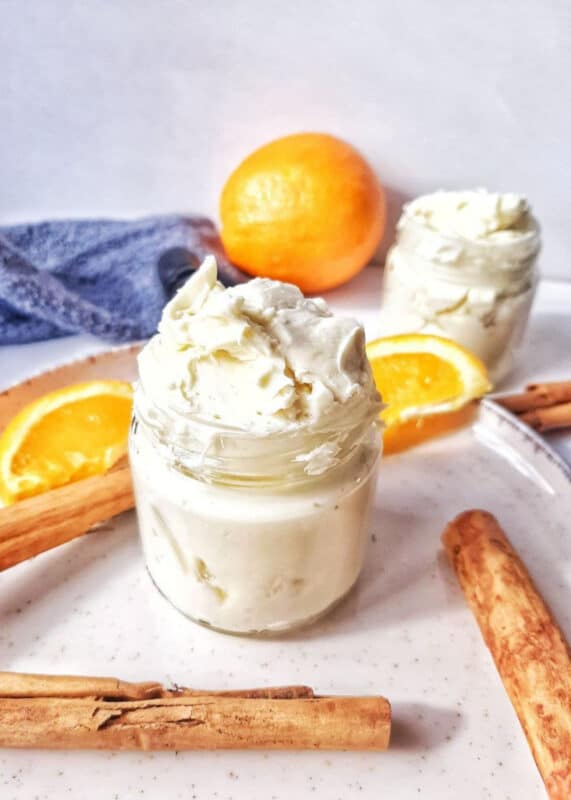
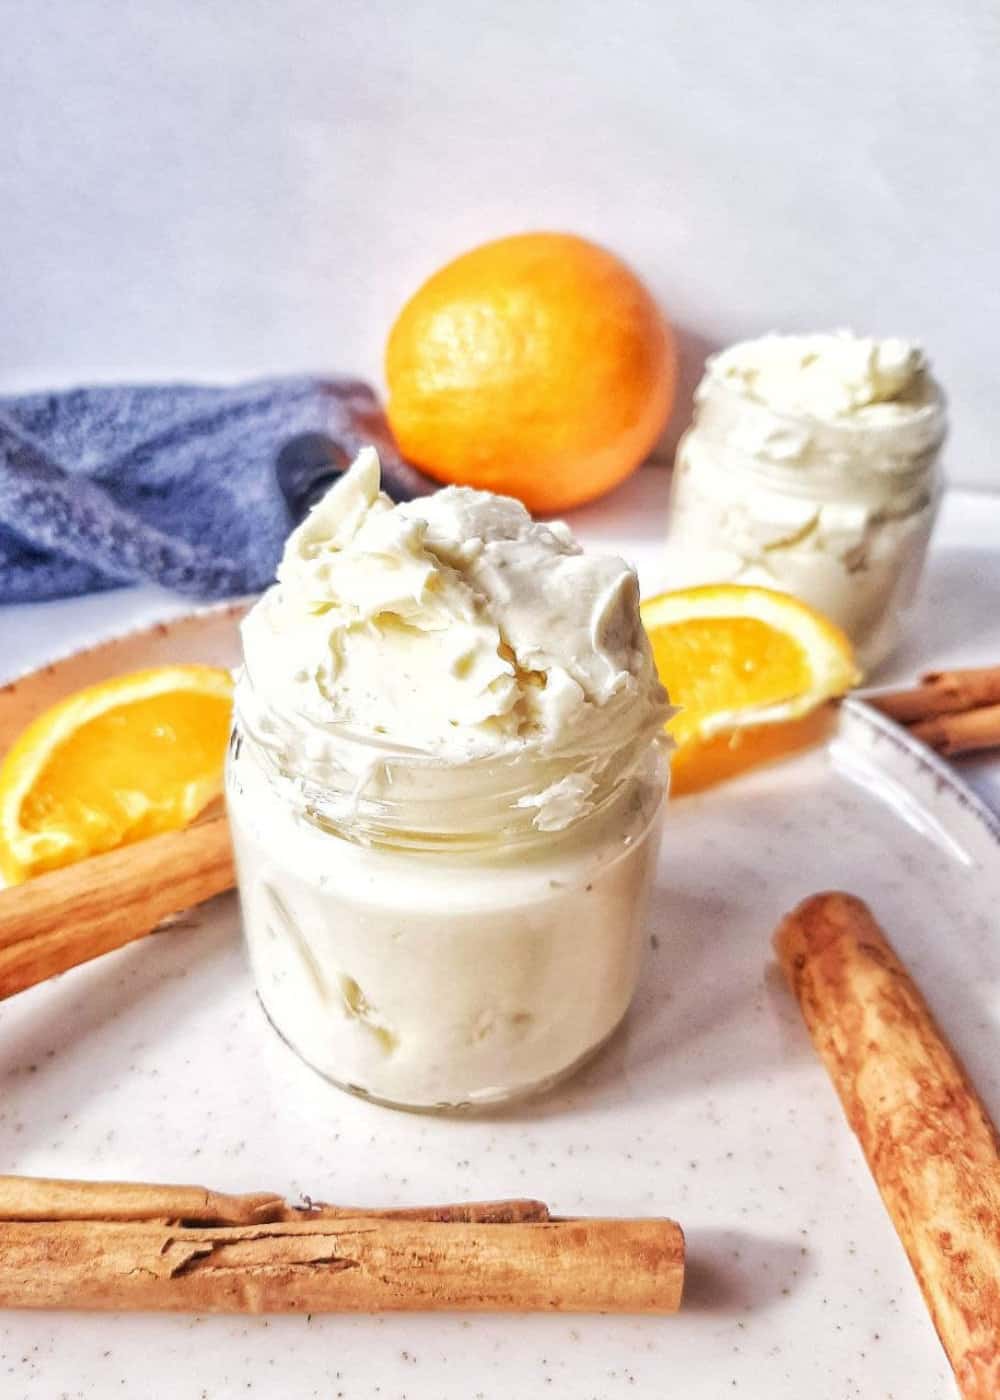
Then add approximately 30 drops of essential oils of your choice (I sometimes like to add a few more drops if I’m going for a stronger scent) and then mix everything together well. I’m using sweet orange oil, clove, and cinnamon essential oil in this recipe for whipped shea butter.
Why Shea Butter?
Shea butter benefits your skin in many ways, including fighting acne and scars. Whipping the shea butter makes it much easier to apply and soak into your skin. You only need a handful of supplies, and you can make DIY whipped shea butter at home!
With its mix of fatty acids, vitamins (A, E, and F), and antioxidants, it’s no wonder that shea butter has become a highly sought-after beauty ingredient around the world.
Shea butter is one of the first ingredients you buy as a beauty DIYer. Since it’s deeply moisturizing and naturally anti-inflammatory (source), it can be used in lotions, body butter, soaps, and lip balms.
Shea butter blends well with just about any carrier oil and essential oil that you can think of. So, which one(s) you choose to use depends on your personal preference and intended use.
If you don’t like the smell of unrefined shea butter, then you’re better off using refined shea butter. Remember that some beneficial nutrients are lost during the refining process.
How to Choose Essential Oils for Your Whipped Shea Butter Recipe
Since shea butter is heavy, it doesn’t allow essential oils to be easily absorbed in the same way that lightweight oils do. So, if you’re adding essential oils to enjoy their therapeutic effects, just know that shea butter (and all heavy oils and butter) can hinder that to some degree.
Here are some of my favorite essential oil combinations for DIY whipped shea butter:
Normal Skin – 10 drops lavender, 6 drops geranium, 4 drops ylang-ylang
Oily Skin – 8 drops sandalwood, 6 drops lemon, 6 drops lavender
Dry Skin – 8 drops sandalwood, 6 drops geranium, 6 rose
Sensitive Skin – 6 drops chamomile, 4 drops rose, 2 drops neroli
Spiced Orange
- 20 drops orange
- 5 drops cinnamon
- 5 drops clove
Relaxing
- 8 drops sandalwood
- 5 drops neroli
- 5 drops rose
Soothing
- 10 drops lavender
- 10 drops mandarin
Romantic
8 drops orange
5 patchouli
3 cinnamon
3 ylang ylang

Easy Whipped Shea Butter Recipe with Essential Oils
Ingredients
- 80 g Shea Butter
- 19 g Coconut Oil
- 24 drops Sweet Orange Essential Oil
- 5 drops Cinnamon Essential Oil
Instructions
- In a double boiler or gall bowl, combine shea butter and coconut oil.
- Bring to medium heat and stir constantly until all ingredients are melted. Remove from heat and let cool slightly.
- Add in the essential oils and stir again.
- Move to fridge and let cool another 1 hour or until starting to harden but still somewhat soft.
- Use a hand mixer to whip until fluffy.
- Store in a glass jar with a lid.
More DIY Body Butter, Cream, and Lotion Recipes
Body Butter with Honey and Beeswax
How to Make Non-Greasy Body Butter
Whipped Shea Butter Recipe FAQs
Panicking When Your Body Butter Doesn’t “whip”
If it’s not whipping, you’re probably getting a bit annoyed. The two main reasons your shea butter isn’t whipping are as follows: It’s too hot, which means it’ll stay in a liquid form. It’s too cold, which means it’ll stay hardened without whipping.
What’s the Shelf Life of This Whipped Shea Butter Recipe
When stored in a clean and air-tight container, this homemade body butter will last 3-6 months.
How to Use This Whipped Shea Butter Recipe
Apply a small amount to a clean and dry hand and use the fingers and palm of the hand to gently massage the product onto the body. Only a small amount is needed because it is thick and heavy in consistency, and a little goes a long way.
How Do I Make My Body Butter Less Greasy?
Luckily, whipped body butter can be less greasy than regular body butter. You can also add a teaspoon or two of arrowroot starch (corn starch also works) to make it less greasy.

Looks yummy, but am wondering about the cinnamon oil for skin products. Everything I’ve read (I researched its use for soap and body butter) said it was an irritant. Do you have a different experience? Thanks.
Feel safe to use it in DIY body recipe. Even cinnamon essential oils is mostly used in soap recipes, it has many great benefits for your skin. Its antibacterial, analgesic, anti-inflammatory, antioxidant, and antimicrobial characteristics benefit the skin in various ways.