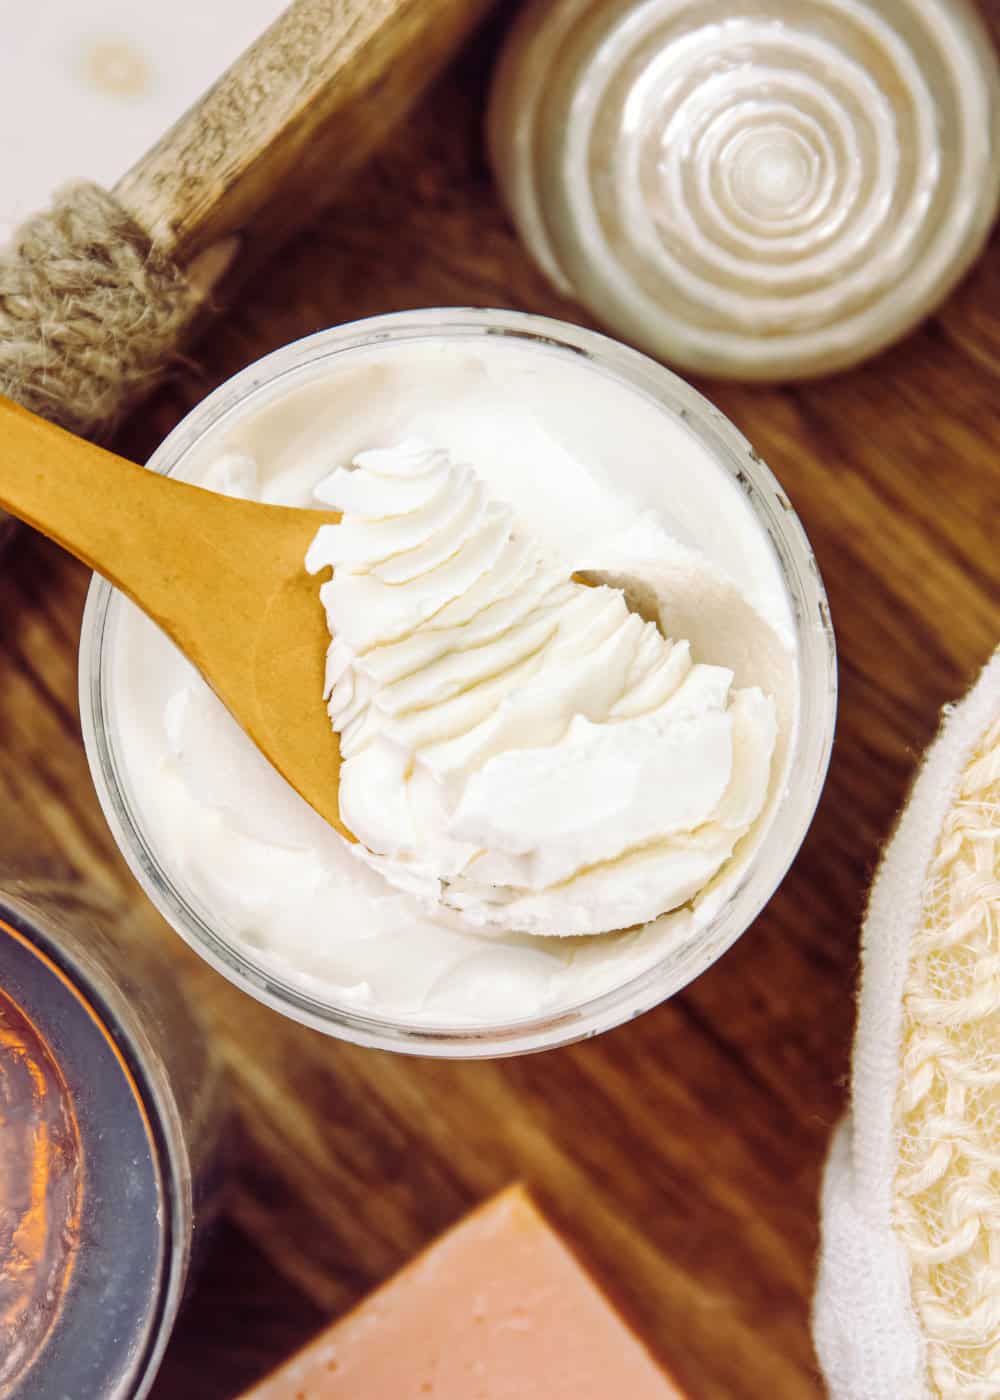
DIY Non-Greasy Whipped Body Butter Recipe
Today, I’ll show how to make the easiest 3-ingredient non-greasy body butter recipe. This whipped body butter is super nourishing, super versatile, and all-natural.
With dropping temperatures, our skin dries up quicker than in summer. Personally, my skin tends to dryness by summer, therefore a good nourishing body butter is a must for me. There are many reasons for dry skin. Our skin reflects the state of our health and weather conditions.
While many types of homemade body butter are thick and greasy, this wonderful non-greasy body butter recipe works very well. It absorbs quickly and feels exactly like store-bought lotion!
This is the best body butter recipe for glowing skin ever! You can add this DIY whipped body butter to your Christmas gift basket.

If you want more nourishing DIY body recipes, check out this ultra-moisturizing shea butter lotion and my simple shea butter cream facial moisturizer. And today, we’re making the best silky smooth body butter recipe for the whole body: face, arms, legs, feet…wherever you need moisture.
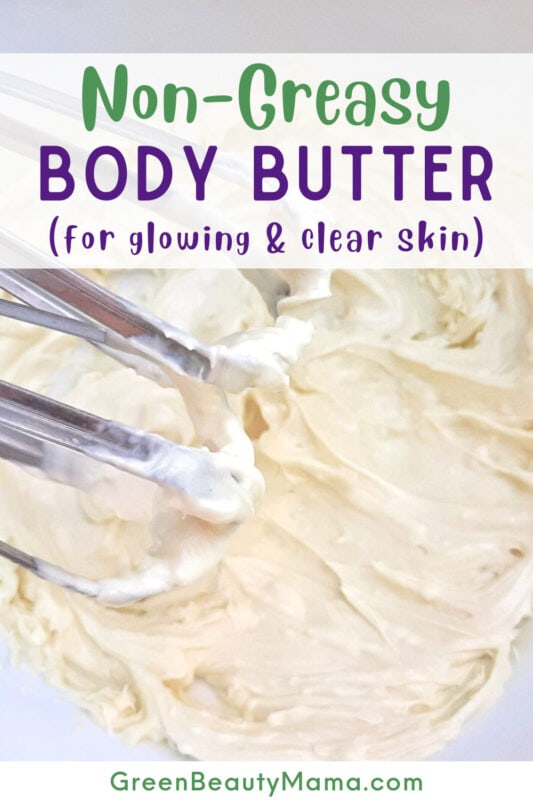
Easy non-greasy body butter recipe
I’m not here to convince you that making your own skincare products is the best choice in your life. I want to share my reasons for going all-natural and making my own products.
The first reason why I started making my own creams and homemade lotions was to avoid harmful substances.
I converted to natural products to reduce my toxin levels, optimize liver function, and reduce excess chemicals that mimic hormones. So, I blamed it on the changes in skincare.
According to the British Skin Foundation, Commercial cosmetics and store-bought body butter (all those luxury and store-bought fancy skincare products) are usually laden with harmful chemicals and preservatives.
Many of them contain hormone disrupters, like Parabenes, paraffin, and ETDA, to name a few.
The problem is that a lot of these toxins mimic Estrogen, which isn’t a good full stop, let alone for someone who suffers from Endo (endometriosis and high levels of estrogen have been linked).
Some are referred to as an endocrine disruptor, meaning hormone-altering crap lol. If your body is already high in estrogen, and then you add an estrogen-mimicking chemical to your body – your hormones are going to skyrocket, causing your symptoms to worsen!
Another reason was to omit all those plastics and packaging.
The third reason was to cut some costs.
So, if you’ve wanted to make your own homemade non-greasy body butter for some time, keep reading.
You’ll love this homemade body butter, because it is:
- non-greasy
- easy to make (non fancy tools – just melt, stir and pour)
- smells great
- has flexible ingredients (so you can pretty much use what you have on hand)
How to Make Your Own Body Butter
If you are just starting your own journey towards a healthier lifestyle and want to ditch the chemicals, making your own body butter and body cream is a great first step.
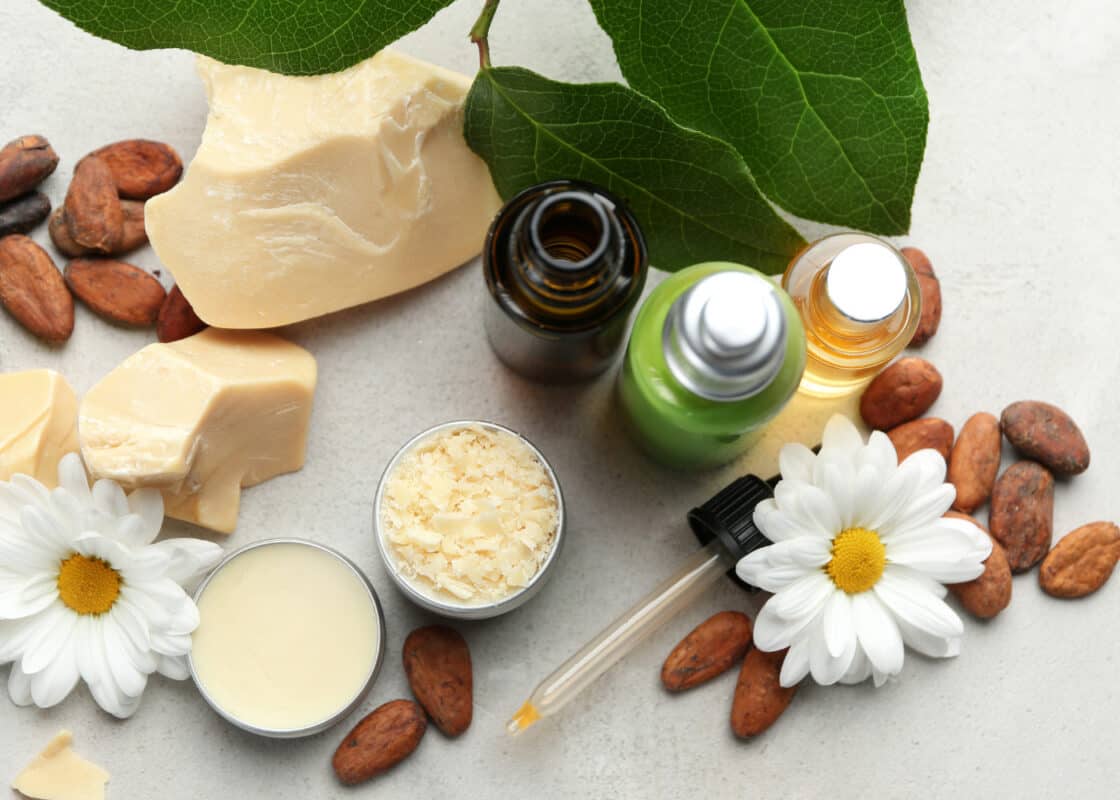
For this homemade body butter recipe, I’ll be using two types of oil – one solid at room temperature (coconut oil or mango butter) and one liquid at room temperature.
The whole process of making your own body butter is fairly simple and straightforward. Combine hard butter (like mango butter) and good carrier oil (liquid oil) together. Add to the mix an oil-absorbing ingredient like arrowroot starch and mix! You’re done! You may add your favorite essential oil if desired.
What you will love about this easy whipped body butter recipe is that it is easily customizable. This homemade, non-greasy body butter recipe uses ingredients that are already shelf-stable.
You won’t believe how easy this is to make! This is a DIY body cream with shea butter. I’m a HUGE fan of shea butter. I love slathering it on after a hot bath or shower. I have really dry skin, especially in the winter, and my skin just loves to soak up the shea butter.
But for this easy homemade whipped body butter recipe, you will also use sunflower oil-absorbing and arrowroot powder. Sunflower oil is great for oilier skin types and absorbs quickly. It is very gentle and would be great for sensitive skin types as well. It has amazing astringent properties and is hydrating and balancing!
You can also help prevent early oxidation (rancidity) by adding an antioxidant such as vitamin E oil if you’d like. Personally, I don’t use it because I’m using high-quality ingredients; I know my body butter will stay fresh for at least several months, and that’s more than enough time for me to use up a batch. Anyway, it’s a great addition to natural body butters.
You will find this easy body cream recipe on the recipe card below!
By choosing the right ingredients and carrier oils, you can create body butter at home that absorbs quickly and moisturizes your skin without a greasy feeling.
Why does my body butter feel greasy?
When trying homemade body butter for the first time, you might be surprised at how heavy the texture feels, especially if you’re used to store-bought body butter containing water and other ingredients to speed up absorption.
When we talk about a greasy feel, we usually mean that the product stays on top of the skin and absorbs slowly. Suppose you want your body butter to have a dry finish without feeling tacky or slippery.
Remember that not all butters and oils are created equal, meaning the ingredients you choose for your body butter greatly affect the result. You must pick a butter with fast absorption rates to create a body butter that absorbs fast.
While it’s best to experience the absorption rate and skin feel of each ingredient for oneself since a greasy feel is somewhat subjective, it’s not always possible.
Here’s what you can do:
#1 Use Fast-Absorbing Carrier Oil
If you want to make less greasy body butter, choose your carrier oils carefully. The trick is to use fast-absorbing natural oils:
- Grapeseed oil
- Safflower oil
- Sunflower oil
- Apricot Kernel Oil
- Rosehip oil
- Sweet almond oil
- Camellia seed oil
These oils have been proven to be non-comedogenic and can be used on your face or body.
Greasy Oils to Avoid
While most of the carrier oils are ok for your skin, some are more greasy or don’t absorb into the skin well.
- Jojoba Oil
- Babassu oil
- Castor Oil
- Coconut Oil
- Olive Oil
- Palm Oil
- Avocado oil
#2 Use Non-greasy Butter for Your Body Cream or Body Butter
In addition to or in place of your carrier oil, you can use plant-based butter to create a thick or luxurious feeling body butter.
Mango butter, cocoa butter and kokum butter are fast-absorbing butters. Usually, I use mango butter.
Note that Shea Butter is not a fast-absorbing butter. She butter is a tree nut product, and it doesn’t contain chemical irritants known to dry out skin, and it doesn’t clog pores. She butter is one of the best moisturizers.
Cocoa Butter is high in antioxidants, which help fight off free-radical damage, which can cause skin aging, dark patches, and dull skin. It reduces stretch marks and scars. Cocoa butter is also a rich moisturizer.
Other Ingredients to Avoid
If you really want to make non-greasy body butter you should avoid water-based ingredients, because it becomes a cream or lotion. If that happens, you’ll need an emulsifier and probably a preservative.
- Honey
- Aloe Vera Gel
- Tea Blends
- Juices, such as carrot juice
- Fresh Herbs
Add Natural Ingredients That Absorb Grease
In addition to using a fast-absorbing carrier oil, you can add ingredients that absorb excess oil.
You can use arrowroot powder, corn starch powder, tapioca starch and kaolin clay to make body butter feel less oily. They help absorb and bind some excess oils and create a somewhat dry finish on the skin to help minimize the amount of oil in your body butter.
Arrowroot powder is starch extracted from the roots of tropical plants. In addition to absorbing oils, arrowroot powder is high in B vitamins and helps to improve circulation and your skin’s ability to absorb other nutrients.
What are the effects of arrowroot on body butter?
Body butter can feel greasy on the skin. Arrowroot powder helps – it cuts the oily texture and helps the recipe absorb more quickly.
Arrowroot absorbs oils/sebum beautifully and also promotes natural healing as it penetrates the skin.
Arrowroot powder is extremely good for our skin; it goes deep into the skin, softens it from the inside, and makes it naturally blemish-free.
How to choose essential oils for your body lotion recipe
This easy non-greasy shea body butter recipe uses essential oils. While they aren’t necessary, adding them can turn your butter from being simply moisturizing to something that really addresses what is going on with your skin.
My personal favorites to use are:
Frankincense carteri (Boswellia carteri) or Frankincense serrata (Boswellia serrata) – Relaxing, thought to promote youthful-looking skin.
Lavender (Lavandula augustifolia) – Calming and helpful for soothing irritated or dry skin.
Peppermint (Mentha x piperita) – Refreshing, helpful for muscle relaxation. Also smells like mint chocolate when blended with cocoa butter.
Use whatever you like for essential oils, with the suggestions above being good for different issues. I used rose and orange, which were heavenly smelling, especially combined with the fragrance of the coconut oil. Somehow, I felt like a creamsicle :-).
Don’t be scared if you miss some of the ingredients for this easy, homemade whipped body butter recipe.
Tutorial How to Make Body Butter Less Greasy

1. Gather ingredients: Use your scale to measure the shea butter and sunflower oil. Having everything ready beforehand will make the process smoother.
Mix arrowroot powder with carrier oil (optional).
If you plan to use arrowroot flour, whisk the flour into the carrier oil in a small bowl. Set the mixture aside. If you’re not using arrowroot flour, skip this step.
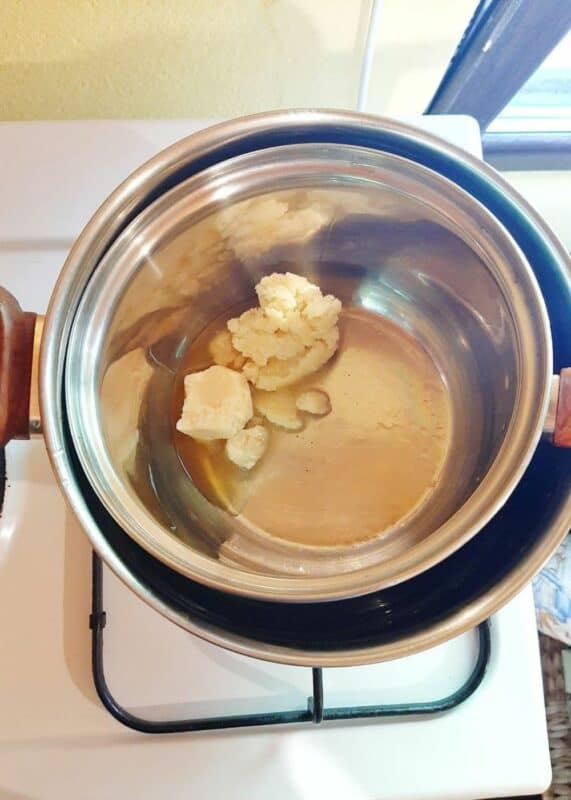
2. Melt the shea butter and liquid oil: In a double boiler or microwave-safe bowl, gently melt the shea butte and sunflower oil until they become liquid. Stir occasionally to ensure even melting.
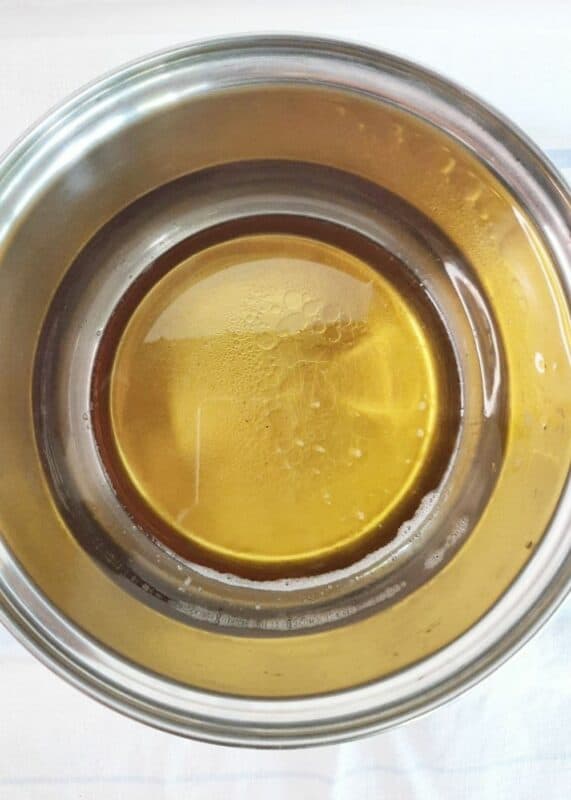
3. Let the mixture cool: Once melted, remove the bowl from heat and let the mixture cool at room temperature for a few minutes. It should still be liquid but not hot to the touch.
4. Add the essential oils: Slowly pour in your chosen essential oils. Stir well to combine all the ingredients thoroughly.
5. Incorporate vitamin E oil (if using): Add a few drops to the mixture. Vitamin E oil helps preserve the freshness of your body butter and provides additional nourishment for your skin.
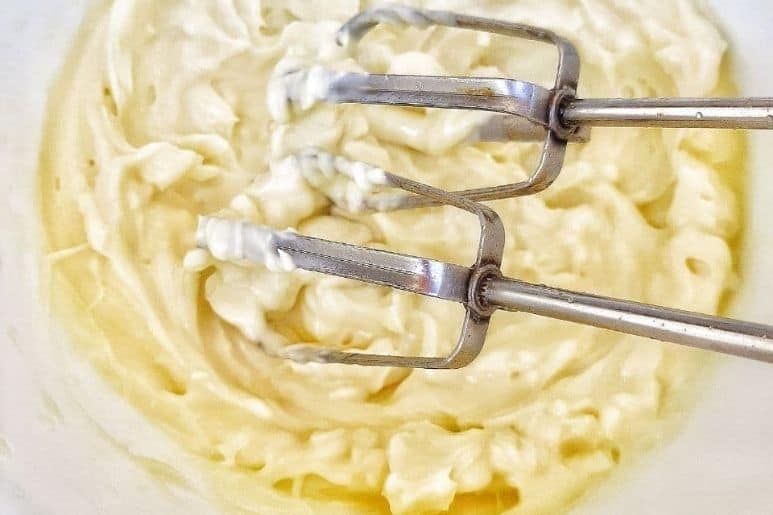
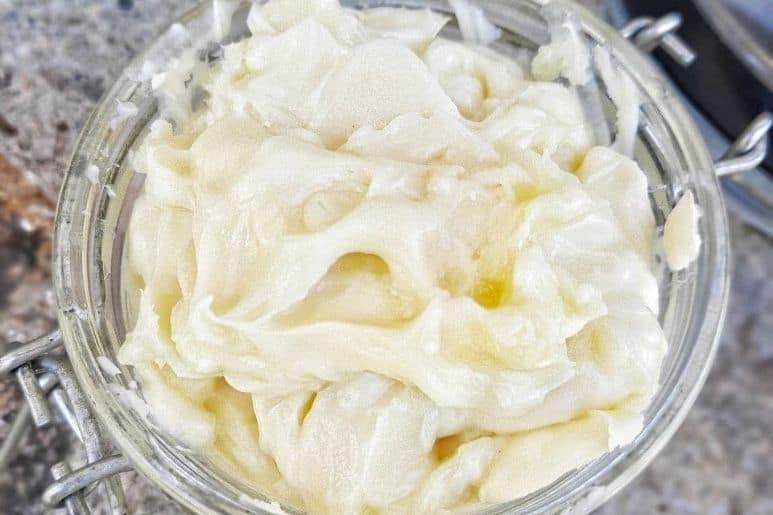
6. Whip the mixture: Using a hand mixer or stand mixer, whip the mixture on medium-high speed for a few minutes until it becomes a fluffy and creamy consistency. This step incorporates air into the body butter, giving it a light and velvety texture. Just be careful not to over-whip the mixture.
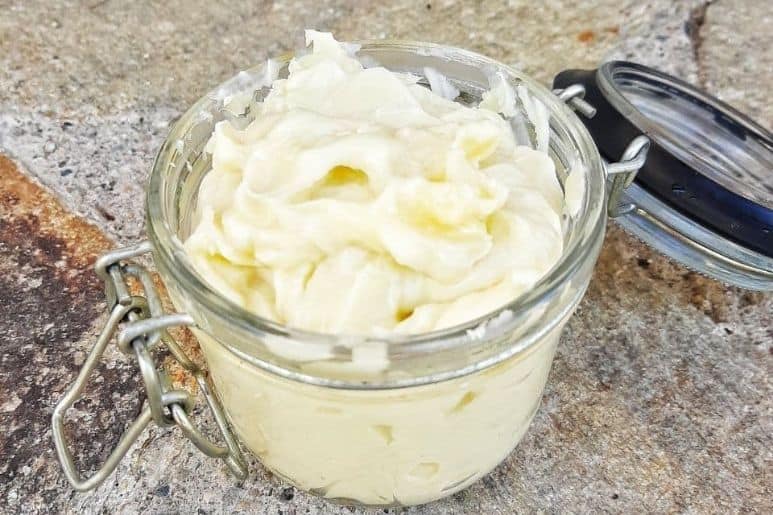
7. Transfer to containers: Spoon the whipped body butter into clean, sterilized containers. Airtight glass jars or tins best preserve the freshness and extend the shelf life of your body butter.
Congratulations! You have successfully made your own non-greasy body butter. Let’s explore some tips for customizing your non-greasy body butter recipe.
How long does a homemade body butter last?
The shelf life of body butter, as long as it contains only oil-based ingredients, is around 6 months. There is no preservative required.
Oils and butters last quite a while. Typically, they last 6 months or more. The problem arises when you mix water based ingredients with oils. Bacteria forms in water quickly and can cause your DIY creation to go bad in days.
Store in an airtight glass jar and keep out of direct sunlight, which promotes oxidation and may cause the homemade body butter to melt if it heats up too much.
Non-Greasy and Fast-Absorbing DIY Body Butter Recipe
Ingredients:
- ½ cup organic refined shea butter
- ½ cup organic sunflower oil (or other fast-absorbing oil)
- 1 tbsp arrowroot powder
- 10 drops essential oils (optional)
I seriously love the way this homemade non-greasy body butter recipe feels and smells. It’s also very nourishing and will leave your skin feeling super soft.
I use this body butter on my sensitive skin and my children. You can leave it as it is or add essential oils to create a great smelling body butter for yourself or as a gift.
I’ve love to hear from you about this DIY beauty recipe, do you think this was helpful to learn how to make your own body cream or body butter?
Non-Greasy Body Butter Recipe
Ingredients
- ½ cup organic refined shea butter
- ½ cup organic sunflower oil (or other fast-absorbing oil)
- 1 tbsp arrowroot powder
- 10 drops essential oils (optional)
Instructions
- Combine shea butter and sunflower oil and melt in a double boiler.
- Mix arrowroot powder with carrier oil (optional).
- Once melted, remove the heat and let it cool down to 40º (113ºF). You can speed this up by placing the container in the fridge or freezer.
- Add the essential oils.
- Cool the mixture until it starts to solidify. You can speed this up by placing the container in the fridge or freezer and stirring occasionally.
- Whip with an electric whisk. If it gets soft or liquid during whipping, cool down some more.
- Continue with the process of cooling and whisking until you get your desired consistency.
- Scoop into the desired packaging.
Notes
Storage
Keep in a cool, dry place. Approximate shelf life: six month This is a basic formula for a 100 g batch As a matter of fact, you can use more or less the same ingredients to make a solid & non-greasy whipped shea butter with orange essential oils, too!Nutrition

Thank you so much for your incredibly thoughtful message I really appreciate it and needed to hear this today
Can I use organic unrefined shea butter ?
What is the difference between refined and unrefined ?
Thank you
How long does it last? Like the shelf life if you will
Store in a glass jar. This should keep for 6 – 12 months.
Yes, you can. From a very basic level, it is important to be aware of whether your oils and butters are refined or unrefined. Most of us understand that unrefined likely means it was minimally processed, while refined would indicate further refinement or processing of the oil.
I’m trying this recipe right now! When do I add the essential oils?
Also, I used Mango Butter in place of Shea Butter because it is said to be less greasy. I used essential oils as well. I have added several TBSP of Arrowroot powder because it is greasy. I am trying to figure out how to make a non-greasy body butter. If there is any other feedback you could give, that would be wonderful. Thank you!
How can a mango be butter? Mangoes aren’t oily.
Also how can the above recipe be considered non-greasy when it’s made with Shea butter?
Is it possible to use both Shea butter and Mango butter for body and face creams
Of course, choose ingredients that suit you best
Hi Lora,
How much beeswax would you add to this recipe?
There’s no need to add beeswax to this recipe. Why you want adding?
Hello. I just found this recipe and it was great. I’m still a little confused on how to make a bigger batch. Are u able to help me with that?
How much bigger you want to make it?
I measure in ounces and I wanted to do 16 ounces.
I measure in ounces and wanted to do 16 oz.
Please may I have the recipe that was here before. It was the only cream that worked for my eczema ????
I made this body butter its lovely. I was looking for a non greasy vegan body butter moisturiser. This was my for DIY shea butter body butter. I used sweet almond oil and mixed it with the arrowroot. Then added it to the shea butter. I did all the rest of the recipe as guided with at the end after whipping with a small hand whisk which works as I cooled mine in the freezer whipped it by hand then mixed when cream consistency organic lavender. Beautiful non greasey I find. Thank you so much for a lovely recipe so happy I found your site. Highly recommend this recipe.