How to Make Lavender Soap – Easy DIY Recipe for Beginners
Learn how to make DIY lavender soap with natural ingredients. To make this easy melt and pour soap recipe, you’ll only need 3 ingredients – shea soap base, shea butter, and lavender essential oil. So, grab these skin-loving ingredients and prepare to pamper yourself with a bar of handmade soap recipe. Your skin will thank you for it.
According to Evidence-Based Complementary and Alternative Medicine, “Lavender oil has many uses for treating the skin. It naturally reduces inflammation, lessens pain, and cleans the surface of the skin. You can use lavender oil on your face, legs, and hands”.
These DIY lavender soaps are simple and pretty and make wonderful gifts. You can make a bundle for the holidays by adding in my lavender body lotion and our lavender sugar scrub!

Lavender soap benefits
Lavender is a beautiful flower and offers numerous benefits when used in soap. The scent of lavender is known for its calming and relaxing properties, which can help reduce stress and anxiety. When used in soap, lavender can also provide a soothing and gentle cleansing experience for your skin.
Lavender is also a natural antiseptic, perfect for sensitive skin or conditions such as acne or eczema. Additionally, lavender can help improve the overall appearance of your skin, leaving it feeling soft, smooth, and revitalized. With all these benefits, it’s no wonder lavender is a popular choice for soap making.
Necessary ingredients and equipment for making DIY lavender soap
There are different ways to make soap at home. Today, I’ll show you how to make an easy melt-and-pour soap recipe that doesn’t require lye solution, sodium hydroxide or rice bran oil. Next time, I will show you how to make my favorite cold-pressed natural lavender soap recipe.
Before you start making your DIY lavender soap, gathering all the necessary ingredients and equipment is important. Here’s a list of what you’ll need:
1. Soap base: Choose a high-quality melt-and-pour soap base, preferably organic and free from harsh chemicals.
2. Shea butter: Shea butter is a wonderful soap-making ingredient, making it super creamy and moisturizing.
3. Lavender essential oil: Look for pure and therapeutic-grade lavender essential oil for the best results.
4. Lemon essential oil: Lemon essential oil reduces excess oils on the skin removes dead skin cells, and its astringent properties help to clear the skin.
5. Coloring: If you want to add a touch of color to your soap, you can use natural colorants such as mica powder or dried lavender petals.
6. Soap mold: Select silicone mold in various shapes and sizes to create unique and personalized soap bars.
7. Double boiler or microwave: You’ll need either a double boiler or a microwave-safe container to melt the soap base.
8. Mixing utensils: Use heat-resistant utensils such as a silicone spatula or a stainless-steel spoon for mixing the soap base and essential oils.
9. Spray bottle with rubbing alcohol: This will help remove any air bubbles that may form on the surface of the soap.
10. Optional additives: You can add some personal touch to your own DIY lavender soap, adding ingredients like lavender-infused oil, lavender flower, raw honey, coconut or olive oil, or even rose petals.
Once you have all the ingredients and equipment ready, it’s time to start creating your lovely lavender soap.

How to make melt and pour lavender soap at home
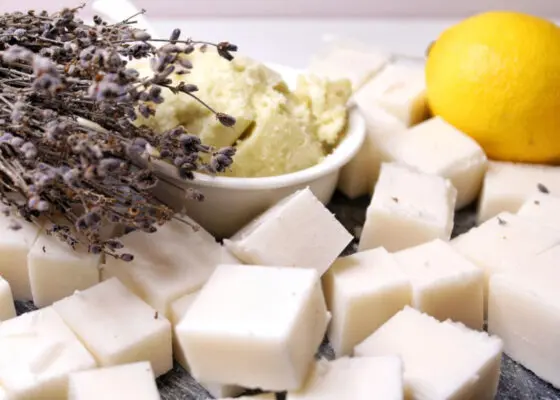
Step 1: Melt and prepare the soap base
The first step in making this easy lavender soap recipe is to melt the soap base. Cut into small cubes and place the soap base inside a microwavable bowl. Add in also the shea butter (if using). You can use different oils like coconut oil or even a liquid oil. Heat in short bursts, stirring in between, until the soap base melts and smooths. If you prefer a double boiler, fill the bottom pot with a few inches of water using a double boiler and place it on the stove over low heat. Place the soap base in the top pot and let it melt slowly. Stir occasionally to ensure even melting.

Step 2: Adding fragrance oil and coloring
Once the soap base is melted, it’s time to add the essential oils and coloring. Work quickly as the soap base begins to harden as it cools. Add a few drops of lavender and lemon essential oils to the melted soap base and stir well to distribute the scent evenly. You can adjust the amount of essential oil based on your preference for a stronger or milder scent.
If you want to add color to your soap, now is the time. Add a pinch of natural colorants, such as mica powder or a tablespoon of lavender buds, and mix until the desired color is achieved. Remember, a little goes a long way when coloring, so start with a small amount and gradually add more if needed.
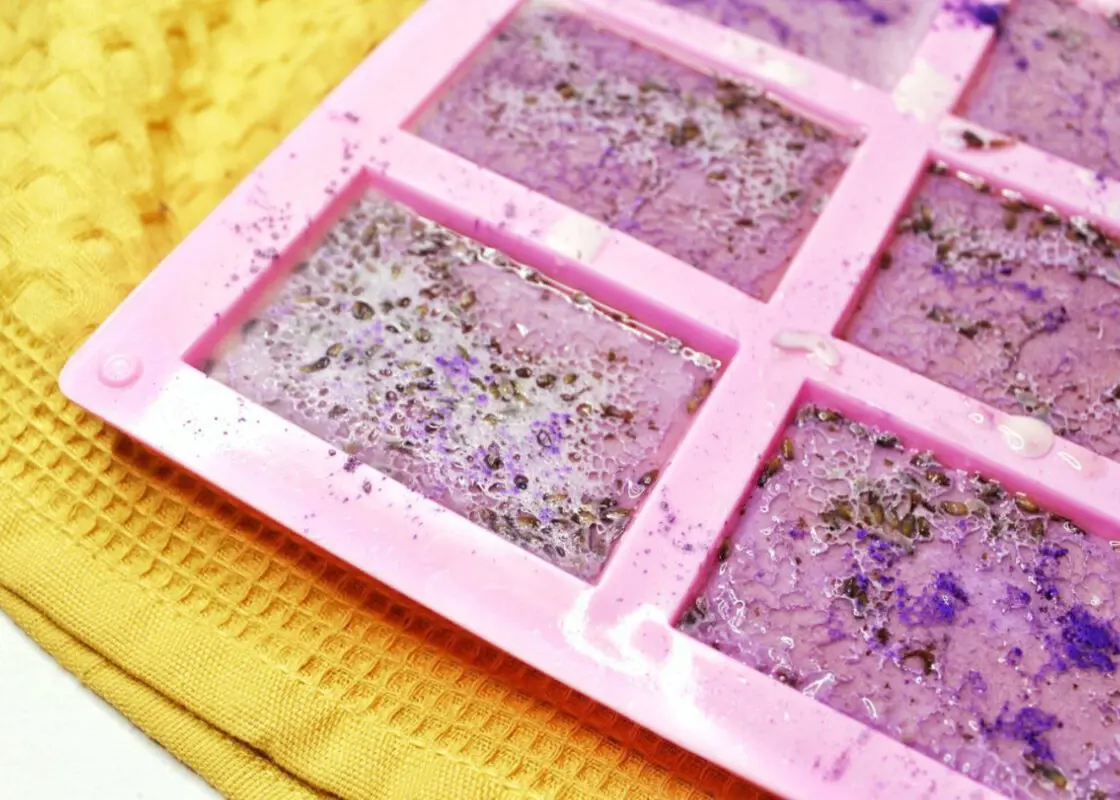
Step 3: Pouring the mixture into silicone molds
Once your soap base is scented and colored to your liking, it’s time to pour the mixture into molds. Place the mold flat and carefully pour the melted soap base into each mold. Fill them to the top, but be careful not to overflow. If you notice any air bubbles on the surface, gently tap the molds on the counter a few times to release them. You can also use a spray bottle filled with rubbing isopropyl alcohol to lightly mist the surface of the soap, which will help eliminate any remaining air bubbles.
Step 4: Let the soap fully set
After pouring the soap mixture into the molds, allowing the soap to cure and harden is important. This process can take anywhere from a few hours to a few days, depending on the size and shape of your soap bars. To speed up the curing process, you can place the molds in the refrigerator or freezer for a short period. Once the DIY all-natural DIY lavender soap is firm and no longer sticky, it can be unmolded. Usually, it takes about 2-3 hours to harden.
Step 5: Storing the homemade soap bars
To unmold the DIY soap, gently push on the bottom of each mold to loosen the soap. If the natural soap doesn’t release easily, you can place the molds in the freezer for a few minutes to help them shrink and release the soap. Once soap is removed from the mold, trim any rough edges with a sharp knife.
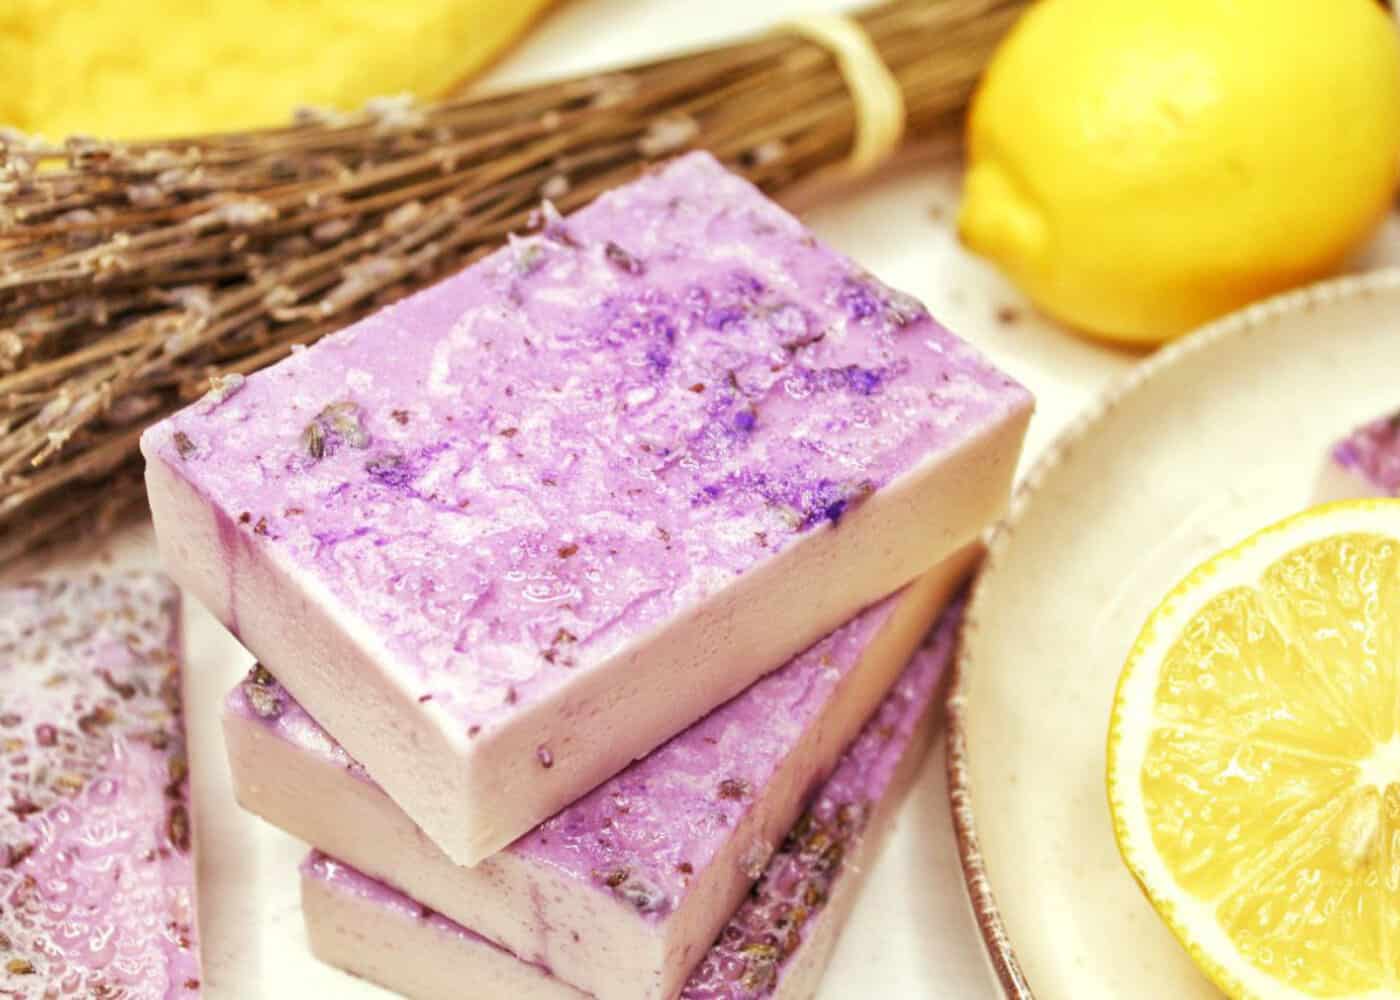
You can place the DIY lavender soap bars on a drying rack or a piece of parchment paper and allow it to air dry for a few more days. This will help the soap harden further and ensure it lasts longer. Once fully dried, store your DIY lavender soap in an airtight container to preserve its scent and quality.
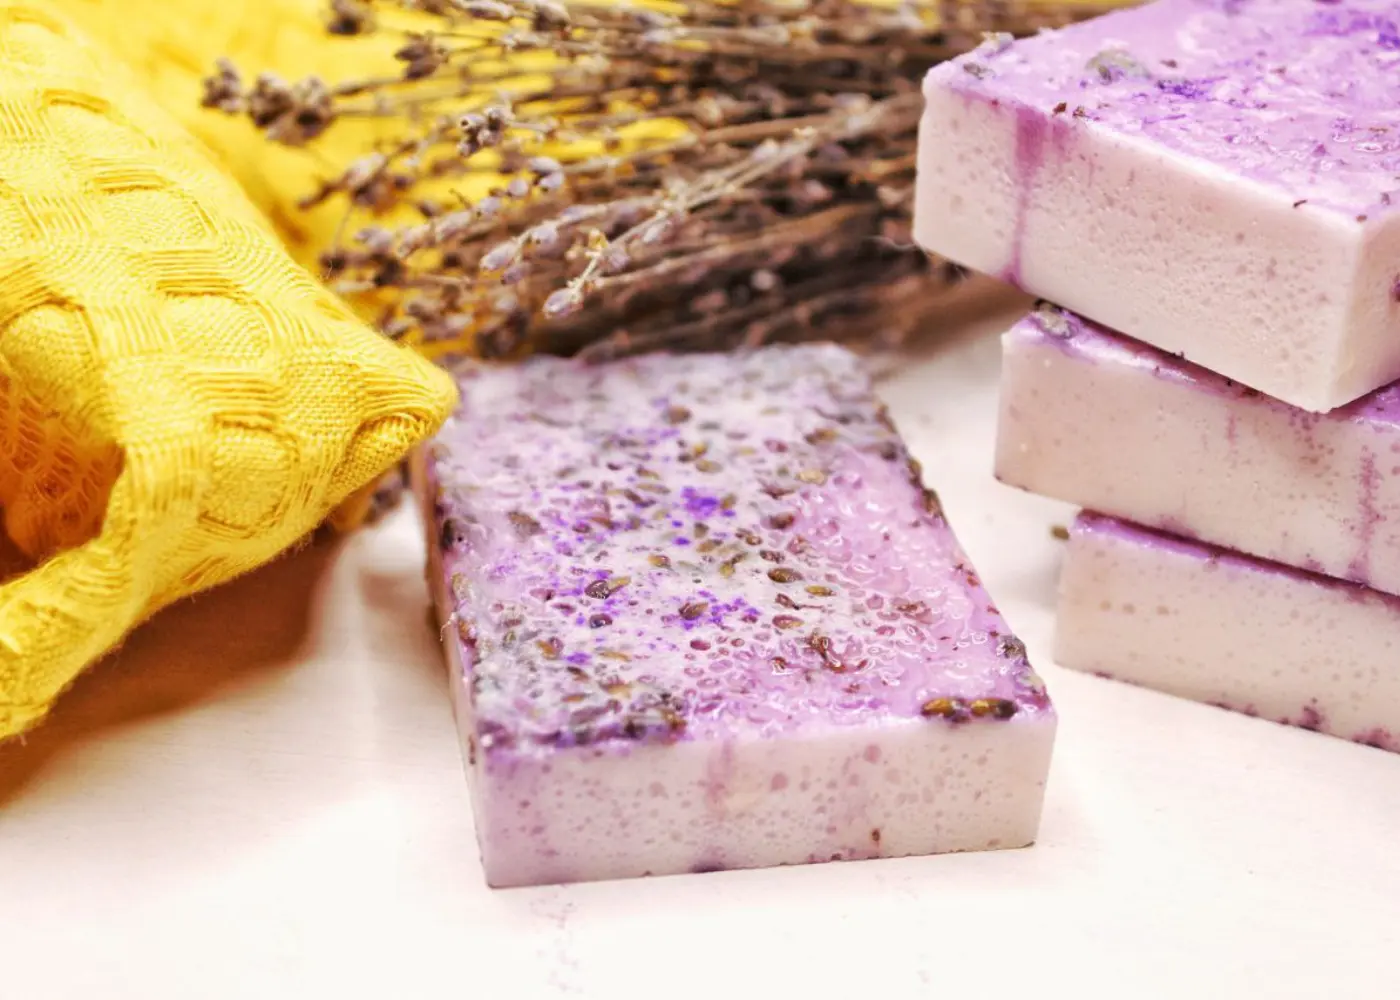
If you wish to decorate the top of the soap with lavender flowers, make sure that the soap is at a VERY thick consistency at that point. For me, that was 10 minutes after I poured the soap. This will prevent them from leaving brown marks on the top of your soap.
DIY Lavender soap shelf life
Store the DIY lavender soap recipe in an airtight container in a dry, cool location, away from direct sunlight and any heat sources. A cupboard, shelf, or dresser drawers are good places.
Once the lavender melt and pour soap has been made, wrap it immediately in plastic wrap/clingfilm to keep the scent in and to stop moisture from settling on the soap.

Learning how to make lavender soap from scratch is easy. From the soothing scent to the gentle cleansing, lavender soap offers a little slice of luxury in your bathroom. This step-by-step guide gives you all the information you need to start making your DIY lavender soap. Remember to select high-quality ingredients, experiment with different essential oil combinations, and have fun customizing your soap to make it truly unique. So, grab your ingredients and prepare to embark on a journey of self-care and relaxation. Your skin will thank you for it. Happy soap-making!
Lavender Soap Recipe
Ingredients
- 1 lb / 450 g shea butter soap base
- 1 Tbsp Shea Butter
- 12 drops lavender essential oil
- 10 drops lemon essential oil
- 2 tbsp purple mica (optional)
- high-proof alcohol
Instructions
- Cut the soap base into small cubes and place them into a microwave-safe jug. Add in the shea butter.
- Melt the soap cubes in the microwave set on low in 30-second bursts (or use a double-boiler) and stir gently in-between until the soap is liquid. Melted soap can be quite hot, so be careful to avoid burns.
- Add the essential oils and mica powder (if using). Whisk until well combined.
- Place the silicone mould on a tray or cutting board.
- Spritz with alcohol and sprinkle the bottom with lavender buds.
- Slowly pour the soap into the mould.
- Spray the top of each soap with alcohol to dissolve the bubbles. Sprinkle with additional lavender flowers.
- Place in the fridge for 30 minutes or until the soap feels hard. You can skip this and wait 2-3 hours until the soap bars feel hard.
- Once the soap is fully hardened, gently flex the mould to release the soap bars.