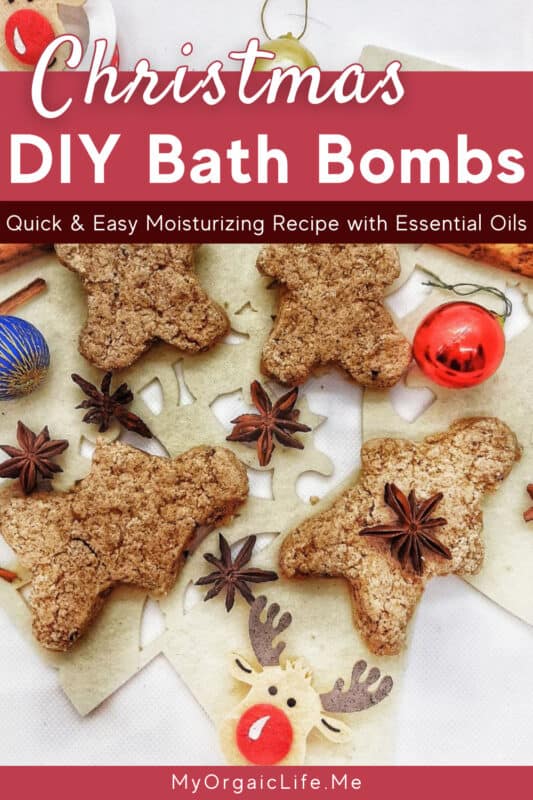
Gingerbread Bath Bombs – Quick & Easy DIY Recipe
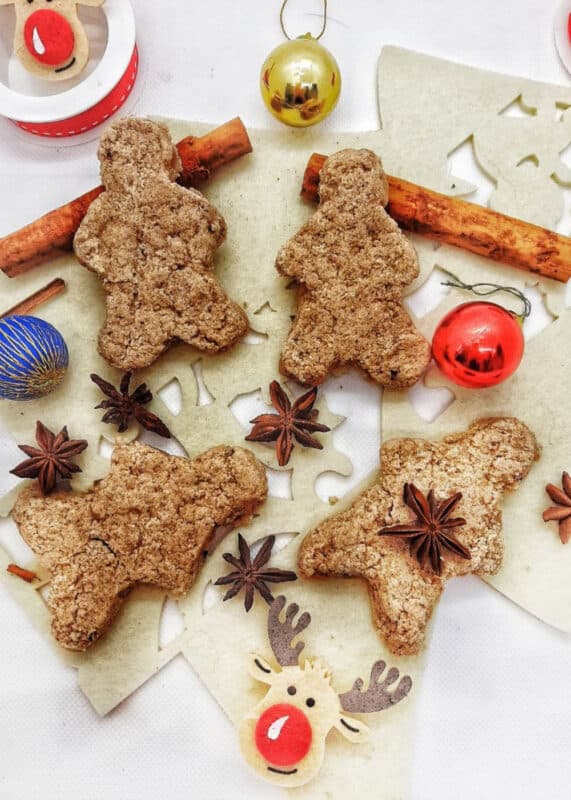
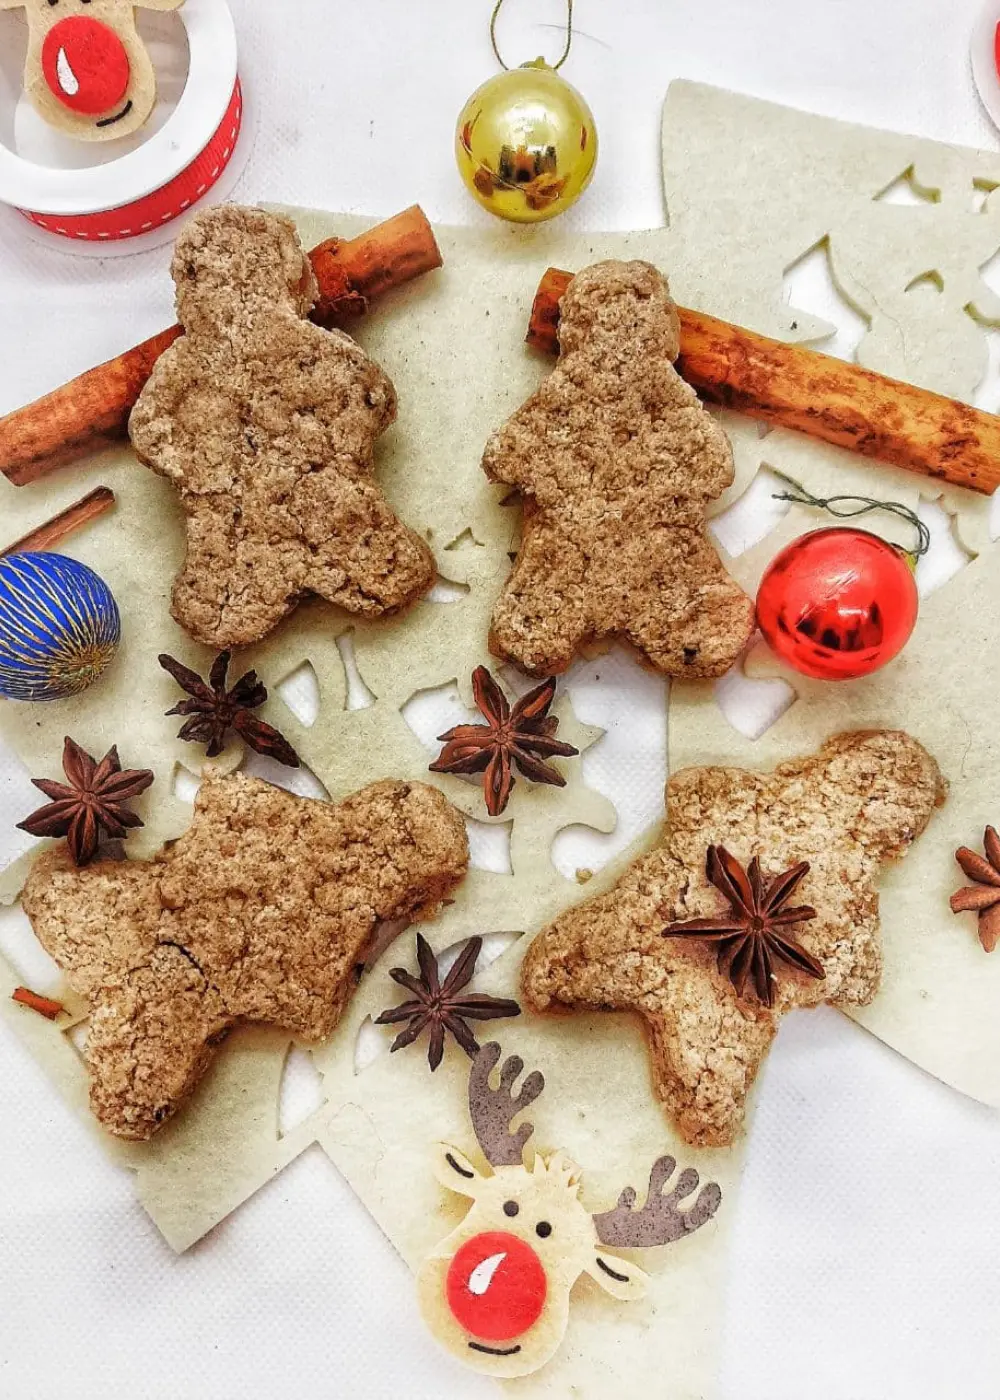
Gingerbread Bath Bombs are such a fun bathtime treat. They make your bath water smell just like fresh-baked gingerbread cookies, and if you use gingerbread boy molds as I did, they even have a cute look of them too. What could be a more festive homemade gift idea for Christmas?
Bath bombs are quite popular these days. They are a fun way of adding some great nourishing ingredients to your bath. The basic bath bomb ingredients have amazing benefits for your body just on their own.
How to Make Gingerbread Bath Bombs
Get some shea butter, take the baking soda and the cornstarch down from the cupboard, pull the citric acid out of the pantry, and stir up these amazing bath bombs. Your body will thank you!
The whole process of making your own Christmas bath bombs is fairly simple and straightforward. Melt shea butter in a double boiler.
Next, mix together the dry ingredients: baking soda, citric acid, cornstarch, and gingerbread spice. Stir to combine.
Add the melted shea butter, gingerbread spice, and essential oils (if used). Mix thoroughly. Add ½ teaspoon of water while whisking to avoid activating the mixture. Grab a handful of the mix and see if it readily holds a clump; if not, add a little more water (make sure to mix it in quickly) and test again. The clump does not need to be firn, just prone to stay together.
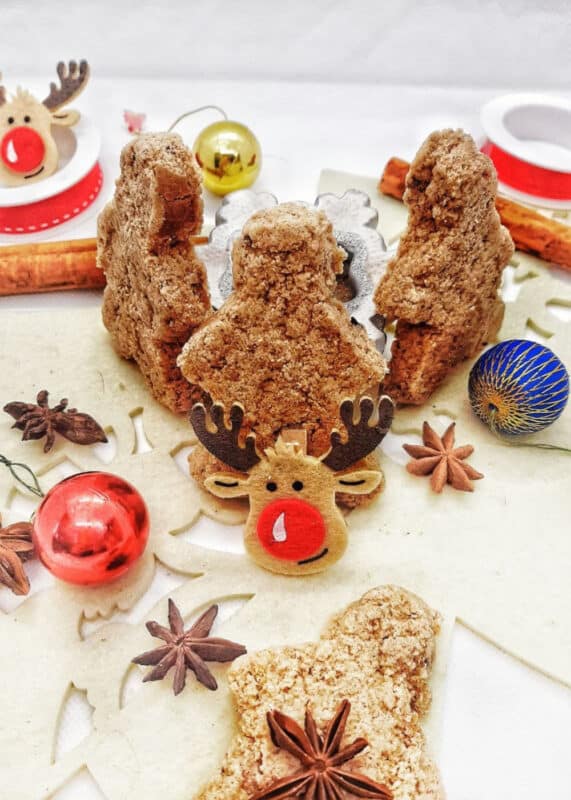
When the bath bomb mixture is ready, scoop some of it onto the silicone mold. You will want these to be slightly overfilled. Push down to pack the bath bomb mix in. You want this as compact as possible.
Leave overnight to harden. Depending on the moisture and humidity in your home, you might find they have “risen” a bit overnight. This is fine. If you have packed them well, you can pop them right out of the muffin tin or mold.
This is optional, but I like to leave them out of the mold overnight so they are 100% packed and dried.
This is a great DIY holiday gift, too; it’s easy to make and package up in a cute little jar with some ribbon. Put it in a gift basket with this peppermint sugar scrub to give them something a little cozier smelling too!
I placed my holiday bath truffles into lovely spice jars and used a ribbon to attach the printable tag. Or put each DIY gingerbread bath bomb in small cotton bags, which is a cute idea if you need homemade Christmas gifts for coworkers.
Want the perfect cure for the hustle and bustle of the holiday season?
These simple Gingerbread Bath Bombs definitely have you covered! It smells amazing and smooths and pampers your rough lips with ease.
What You’ll Need for These Gingerbread DIY Bath Bombs
Baking Soda
Baking soda has anti-inflammatory and antibacterial properties. Adding baking soda to your bath can reduce skin irritation and itching and also provide detoxifying benefits.
Citric Acid
I actually thought citric acid served no purpose other than to create that fun fizzing that bath bombs are known for however, it turns out that citric acid can help remove dead skin cells. It’s also been said to help acne, but odds are it won’t help you much in that area since it’s being used in a bath.
Cornstarch
The cornstarch in a bath bomb has just one job: It slows down the reaction. By binding to the baking soda and the citric acid, the cornstarch slows down the rate at which both dissolve. The effect is that the fizziness may last 3 or 4 minutes, instead of only seconds.
Shea Butter
Moisturizing and hydrating.
Gingerbread Spice
Wilton Gingerbread Boy Silicone Mold
Tutorial How to Make DIY Bath Bombs
1. Melt the shea butter in a warm water bath or the microwave. Set aside for 10 minutes, then stir in the emulsifier and essential oils.
2. Add the dry ingredients into a large mixing bowl and whisk slowly until well combined.
3. Add ½ teaspoon of water while whisking to avoid activating the mixture.
4. Grab a handful of the mix and see if it readily holds a clump. If not, add a little more water (make sure to mix it in quickly) and test again. The clump does not need to be firn, just prone to stay together. The mixture should have a consistency like a cookie dough.
5. Pack the mixture tightly into the silicone mold. The top should be flat and even. Using your fingertips, gently press the bath bomb out of the cookie cutter.
6. Let the bath bombs dry for at least 4 hours or overnight.
7. Leave overnight to harden.
More DIY Holiday Beauty Recipes
How to Use These Gingerbread DIY Bath Bombs
To use, run the water into your bathtub to a comfortable bath temperature. Place your bath bomb in the water. Wait 3-6 minutes for the bath bomb to dissolve and release its scent. Pop yourself in the tub. Relax, maybe with some bath-time music.
How to Store DIY Bath Bombs
Be sure to store the Gingerbread DIY Bath Bombs in an air-tight container. You can also wrap them in plastic and tie them with a ribbon for gifting.
Bath bombs store best in a cool, dry place at room temperature. Good options include a basement, garage, or cabinet. If you live in a humid climate, you may want to wrap the fizzy tightly in plastic wrap before putting them in a box or bag. The plastic wrap helps protect the fuzzies from excess moisture.
I love doing simple DIY projects for myself and as gifts. Making DIY Bath items are great because you control the ingredients. Many bath products contain chemicals you don’t want seeping into your skin during a bath!
I hope you enjoy making, using, and giving these Gingerbread DIY Bath Bombs!
Let’s connect!
I created a fun little group on Facebook, and I’d love for you to join in! It’s a place where you can ask questions, share your ideas, and see what’s new with Green Beauty Mama! If you’d like to check it out, you can request to join HERE.
Be sure to follow me on Instagram and tag #lorascleandiy so I can see all the wonderful recipes YOU make from this site! You can also Subscribe to my Newsletter, so you never miss a beauty recipe again!
xo, Lora
Gingerbread Bath Bombs
Ingredients
- 3/4 cup Baking Soda
- 1/2 cup Citric Acid
- 1/8 cup Gingerbread Spice
- 1/2 cup Shea Butter
- 3 Tbsp Cornstarch
- Wilton Gingerbread Boy Silicone Mold
Instructions
- Melt the shea butter in a warm water bath or the microwave. Set aside for 10 minutes, then stir in the emulsifier and essential oils.
- Add the dry ingredients into a large mixing bowl and whisk slowly until well combined.
- Add ½ teaspoon of water, while whisking to avoid activating the mixture.
- Grab a handful of the mix and see if it readily holds a clump, if not, add a little more water(make sure to mix it in quick) and test again. The clump does not need to be firn, just prone to stay together. The mixture should have a consistency like a cookie dough.
- Pack the mixture tightly into the silicone mold. The top should be flat and even. Using your fingertips, gently press the bath bomb out of the cookie cutter.
- Let the bath bombs dry for at least 4 hours or overnight.
- Leave overnight to harden.