
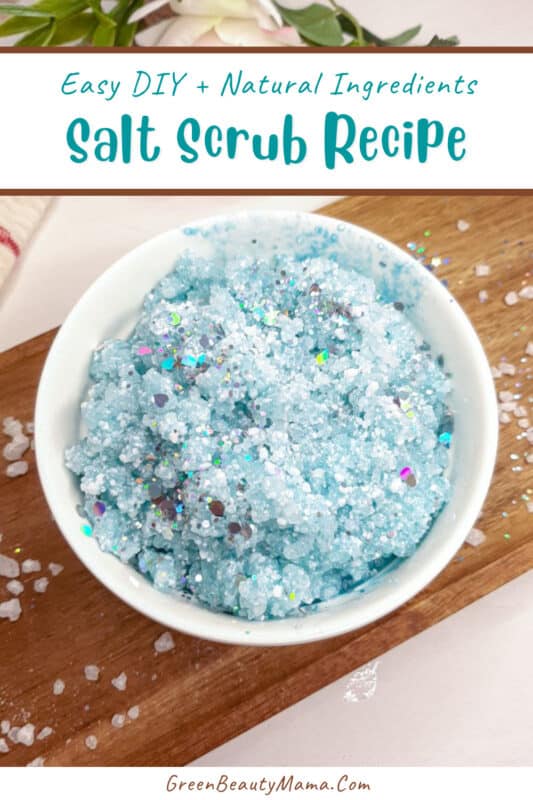
The Best Homemade Salt Scrub Recipe
Learn how to make homemade salt scrub – an inexpensive way to give yourself a spa day at home. Salt scrubs are also great for reviving dry and dull skin.
This easy DIY salt scrub recipe is exfoliating, detoxifying, and nourishing at the same time. This basic salt scrub recipe is made with only 4 ingredients, and you can customize it to your liking so you can maximize all the benefits of the DIY body scrub.
What is a salt scrub?
Homemade salt scrubs are inexpensive to exfoliate dry skin and detoxify your skin. They also smell good and feel excellent while not breaking the bank. Salt scrubs are a body exfoliant similar to sugar scrubs but made with salt instead of sugar.
Salt scrub vs. sugar scrub: which one is better?
Which is better, sugar or salt scrub? If you ask for my honest opinion, none is better. I love them both, and I have both in my bathroom.
Both act as manual exfoliants and physically remove dead skin cells, revealing fresh, glowing skin.
The main difference is the particle size of the exfoliating granules. Sugar granules are often smaller than salt crystals. Therefore, sugar scrubs are better suited for the face and people with delicate skin. If you have sensitive skin, stick to a sugar scrub (I like this homemade sugar scrub with coffee and brown sugar). Salt scrubs are more abrasive on the skin. Salt scrubs are great for tough exfoliating areas of your skin, like dry patches, feet, and elbows. Salt scrubs are used occasionally for exfoliation rather than daily as a cleanser.
Salt scrub benefits
1. Exfoliation: Salt scrubs are an excellent way to exfoliate your skin. The salt’s coarse texture helps remove dead skin cells and unclog pores, leaving your skin smoother and softer.
2. Detoxification: Salt is a natural detoxifier and can pull toxins away from the body. The minerals in the salt also help to nourish and revitalize your skin.
3. Improved Circulation: Salt scrubs can help improve blood circulation in your skin. The scrubbing increases blood flow, which can promote healthy skin.
4. Stress Relief: Salt has a relaxing effect on your body and can help to reduce stress. Using a salt scrub can be a soothing experience, which can reduce tension in your muscles and improve your mood.
5. Anti-inflammatory: Salt has anti-inflammatory properties, which make it an effective treatment for skin conditions such as eczema, psoriasis, and acne.
6. Increased Absorption: Salt scrubbing can help to remove dead skin cells and promote the absorption of other skincare products, meaning your skin will be better able to absorb the nutrients and active ingredients in your moisturizer or serum.
7. Softening: Salt scrubs can help to soften rough, dry skin. The salt helps to slough off dead skin cells, revealing softer, smoother skin underneath.
8. Brightening: Salt scrubs can help to brighten your skin by removing dull, dead skin cells, giving your skin a healthy, radiant glow.

Types of salt you can use
When making your homemade salt scrub you can experiment with different salts and essential oils:
Sea Salt: Natural sea salt contains trace minerals and is perfect for skin exfoliating. Sea salt is created by evaporating seawater and contains small amounts of minerals.
Epsom Salt: Epsom salt is rich in magnesium and is great for soothing sore muscles and softening the skin.
Himalayan Salt: Pink Himalayan salt is rich in minerals, contains over 80 trace elements, and has detoxifying properties. You can try my favorite Himalayan salt scrub recipe.
Dead Sea Salt: Dead Sea salt contains high levels of minerals and is beneficial for treating skin conditions such as psoriasis and eczema. Coming from the dead sea region in Israel, this sea salt differs from traditional oceanic salt. It has a higher concentration of trace minerals such as magnesium and potassium. I love using dead sea salt in my salt scrub formulations thanks to its incredible therapeutic benefits absorbed through the skin.
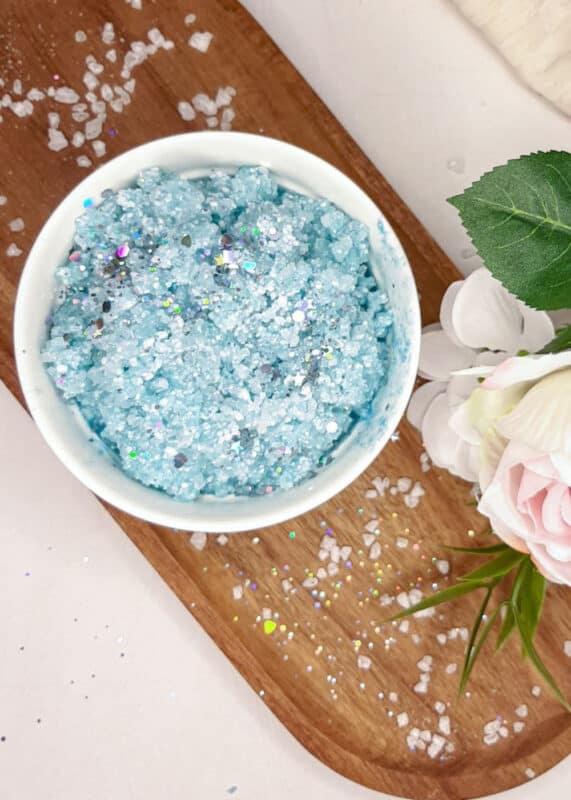
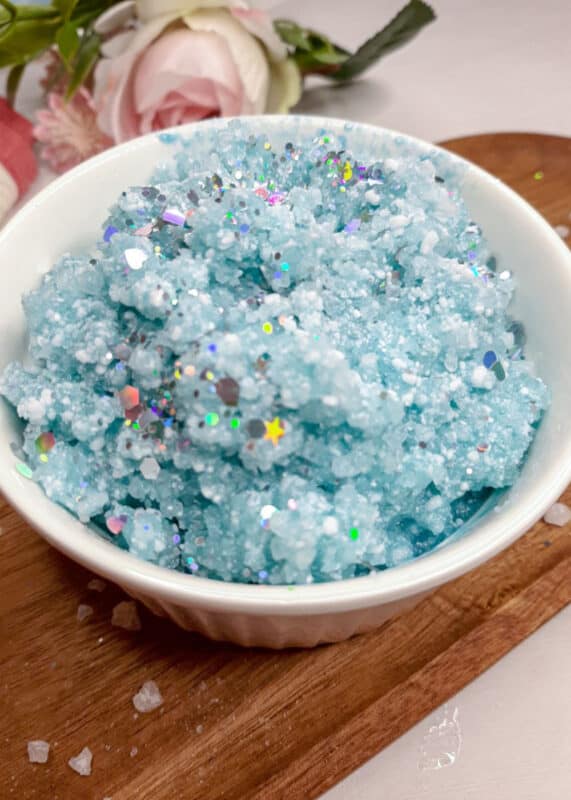
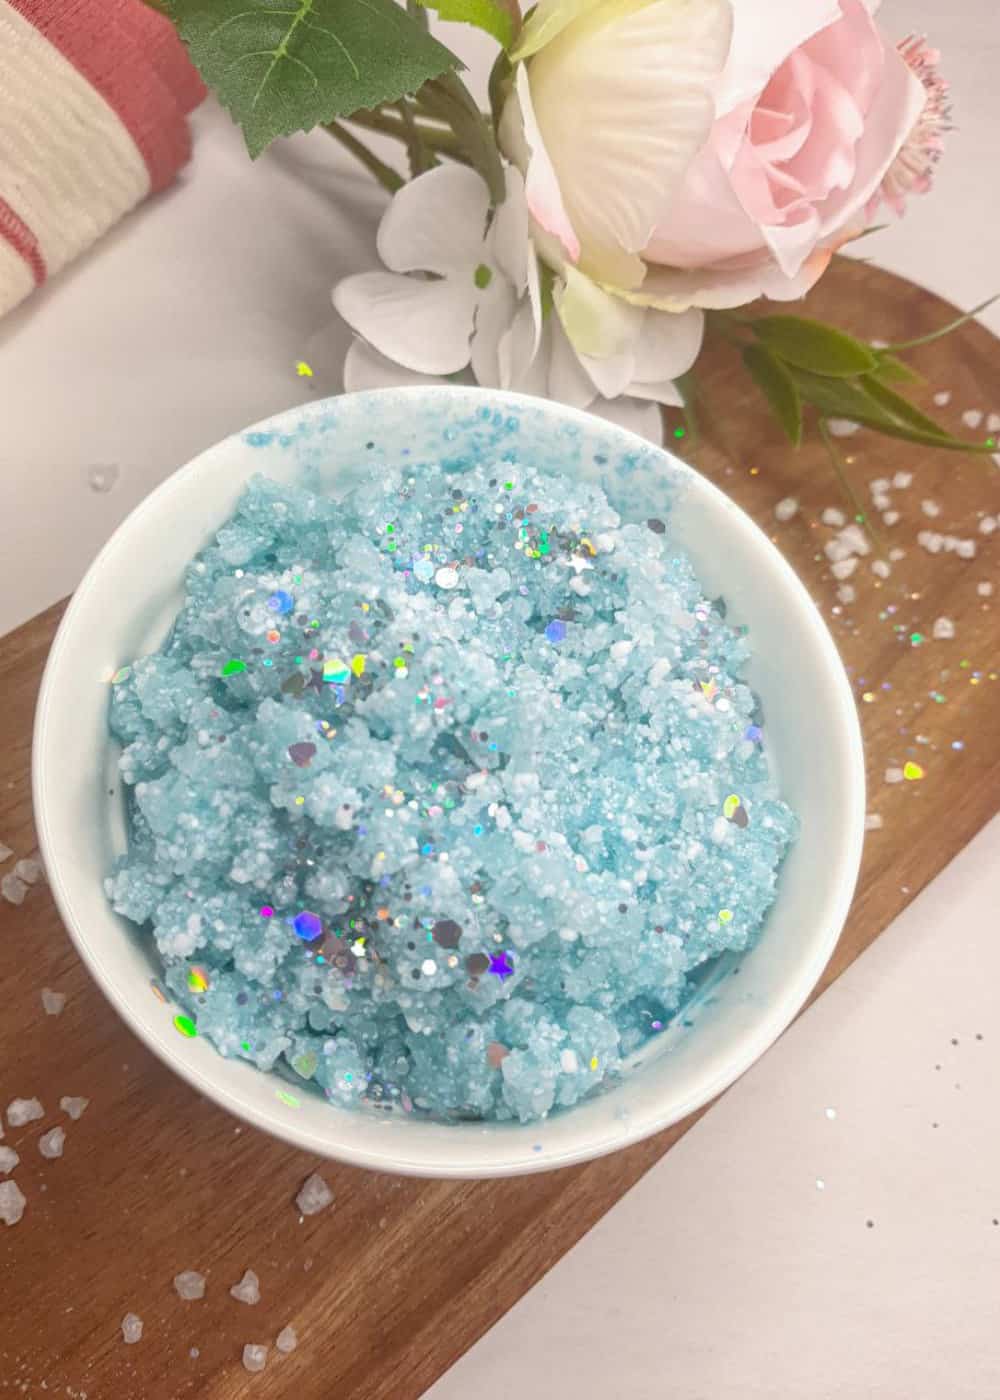
How to make salt scrub – basic salt scrub recipe
I made a homemade salt scrub recipe with fractionated coconut oil. I also added Olivem, an emulsifier, to make the scrub feel softer on the skin and wash off easily.
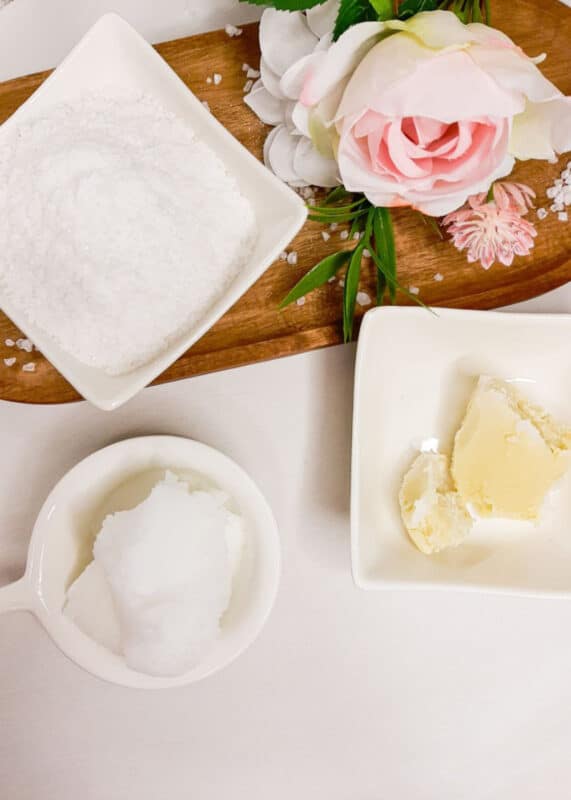
Ingredients:
- 1/2 cup / 180 g of salt: choose from any of the options listed above (I like dead sea salt)
- 6 tbsp / 80 g carrier oil: I prefer fractionated coconut oil, but you can use jojoba oil, olive oil, grapeseed oil, or sweet almond oil.
- 3 tbsp / 15 g Olivem 1000
- 1/2 blue mica powder
- 10-20 drops of your favorite essential oils: the list is endless, but I like lemon essential oil, lime, and spearmint essential oils.
Method:
Melt the Olivem. Put the coconut oil and Olivem 1000 in a heat-proof measuring cup and melt in a warm water bath until liquid.
Next, add the essential oils and mica powder. Mix until well combined.
Fill the sea salt into a large mixing bowl. Pour the oil base over the salt and whisk until well combined.
Store in a sealed glass jar (such as a mason jar) in a cool location until ready for use.
How to use a salt scrub
Begin by wetting and softening your skin with warm water. This will help open up your pores and allow the salt scrub to maximize its effect.
Take a small amount of the homemade salt scrub, a tablespoon or so, and massage it into the skin using gentle circular motions. Start from your feet and work your way up to your neck, covering all areas of your body. I prefer not to use this salt scrub on my face as I find it too abrasive, but you can if you’d like to use it.
Pay extra attention to rough areas like elbows, knees, and heels.
Rinse off the scrub from your body with warm water. Be sure to rinse thoroughly to remove all the particles from your skin.
Pat your skin dry, and apply a moisturizer for extra hydration.
Sometimes, the oil separates from the salt, so mix it before using.
How long does a homemade salt scrub last?
The shelf life of a homemade salt scrub depends on the ingredients used. If the scrub contains only dry ingredients such as salt, sugar, and oil, it can last up to 3-4 months if stored properly in an airtight container. If the scrub contains fresh ingredients such as fruits or oils, it should be used within a week or two and stored in the refrigerator. It is always best to check the expiration date of the oils used in the scrub and use it before the expiry date.
How often should you use a salt scrub?
It would help to use a salt scrub once or twice a week to exfoliate and remove dead skin cells. However, over-exfoliating can cause irritation and dryness, so it’s essential to do what is necessary. Using a moisturizer after a salt scrub is also important to keep the skin hydrated.
Homemade Salt Scrub Recipe
Ingredients
- 1/2 cup / 180 g of salt: choose from any of the options listed above (I like dead sea salt)
- 6 tbsp / 80 g carrier oil: I prefer coconut oil (but you can use jojoba oil, olive oil, grapeseed oil, or sweet almond oil.)
- 3 tbsp / 15 g Olivem 1000
- 1/2 blue mica powder
- 10-20 drops of your favorite essential oil: the list is endless (but I like lemon essential oil, lime, and spearmint essential oils.)
Instructions
- Melt the Olivem. Put the coconut oil and Olivem 1000 in a heat-proof measuring cup and melt in a warm water bath until liquid.
- Next, add the essential oils and mica powder. Mix until well combined.
- Fill the sea salt into a large mixing bowl. Pour the oil base over the salt and whisk until well combined.
- Store in a sealed glass jar (such as a mason jar) in a cool location until ready for use.